I’m going to run a series of posts showing how each of the individual industries and other scenic areas progressed from the time I started through it’s current state. I had a bit of a scare with my computer recently because I couldn’t find any of the construction photos I had taken. It was as if they had simply vanished after a recent upgrade to my OS. Thankfully, I was able to find them after a few days of searching just about every folder I had. Anyway, I’ll start with one of the first sections that I started working on after the “golden spike” was laid in January of 2023 – the DeMilta Sand and Gravel plant.
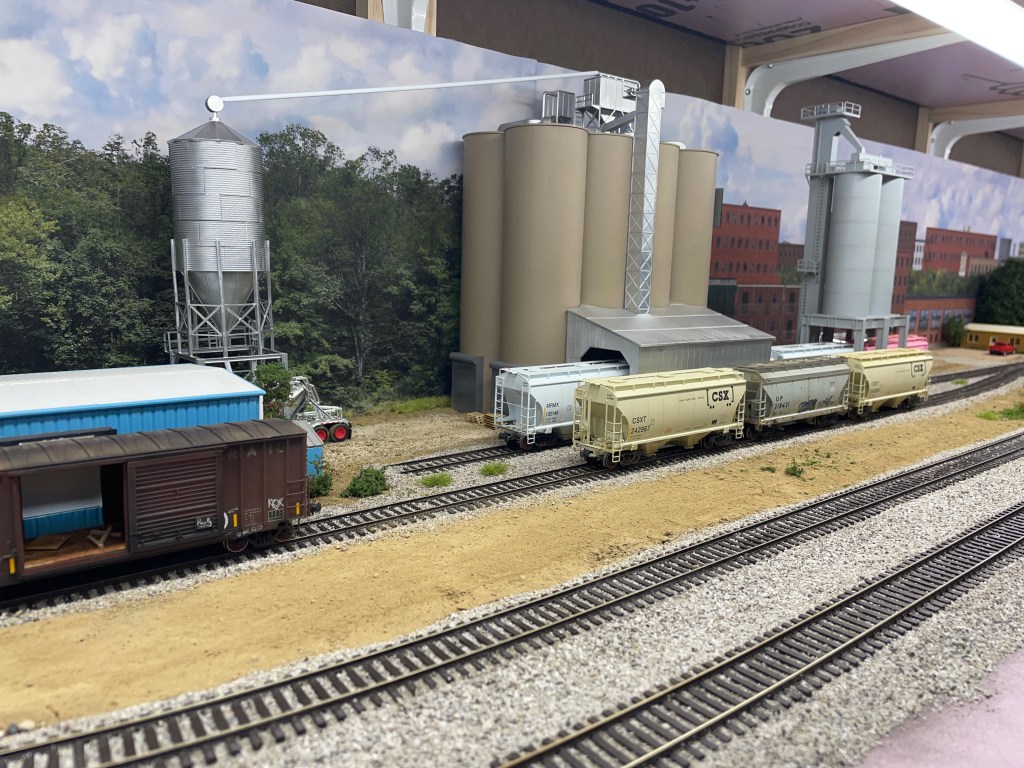
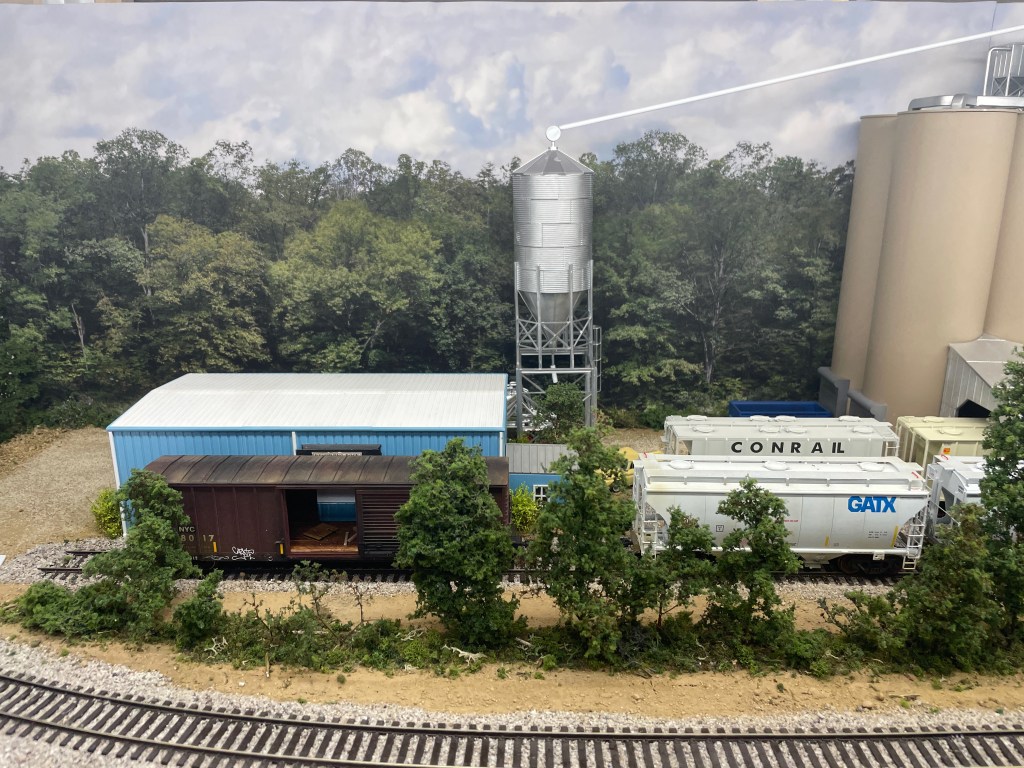
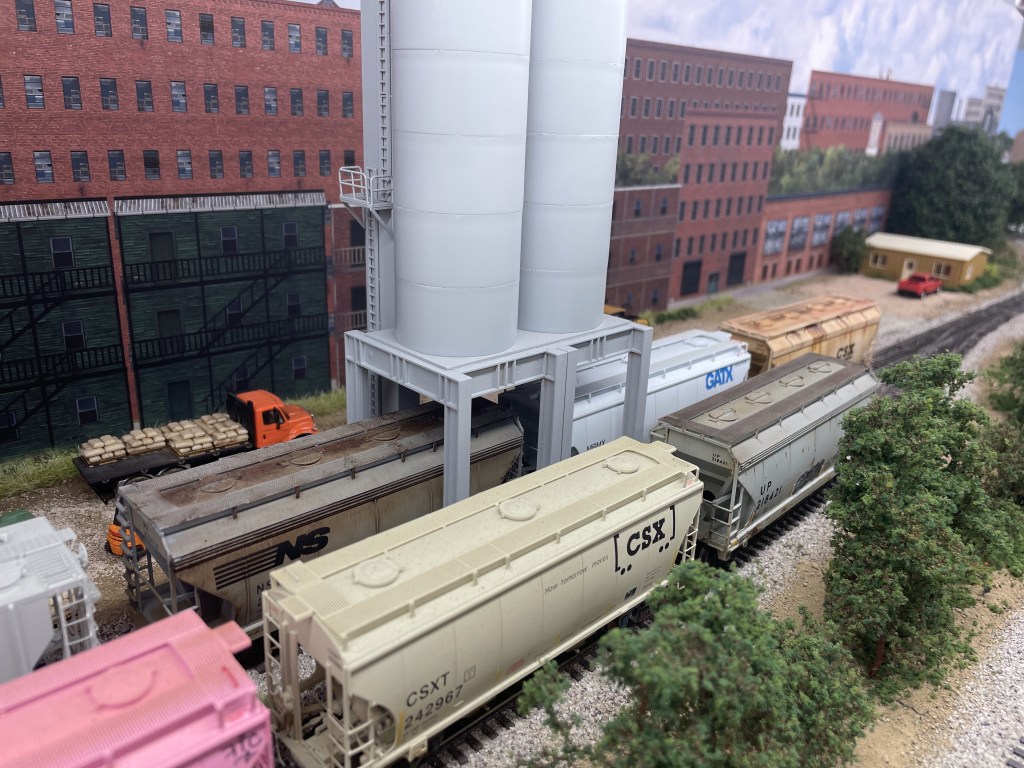
While the real DeMilta Sand and Gravel Company is an actual company in our area, it’s located in NE Ohio east of Cleveland and it doesn’t look anything like my version of the plant. So, I took some creative liberties and came up with the story that they have expanded their service territory to cover NW Ohio and actually have rail service to help bring in the raw materials from other areas around the country. The two spurs are capable of handling a boxcar for packaged material and up to ten 2970cf 2-bay hoppers. Stanley yard is repsonsible for handling deliveries and switch operations at the plant. There is one unloading shed and a secondary loading silo that is fed by bucket loaders.
Below are the photos as the scene progressed:

This is the initial blank canvass I had. The scene depth is 16″ from the front to the back where the backdrop would be installed.
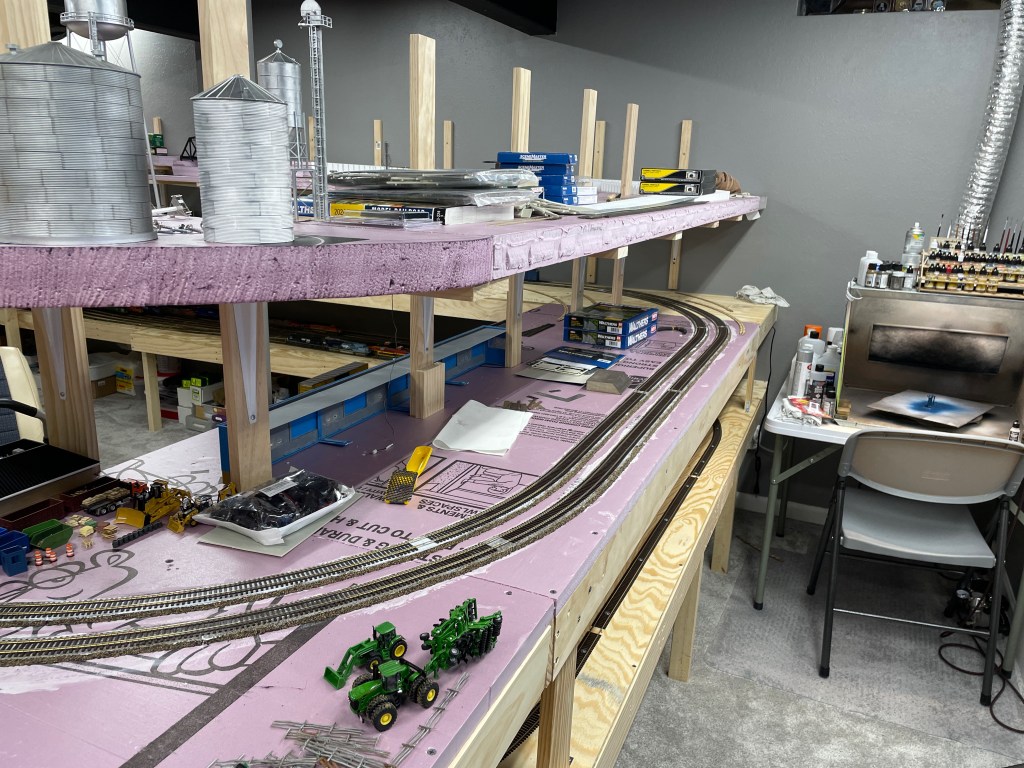
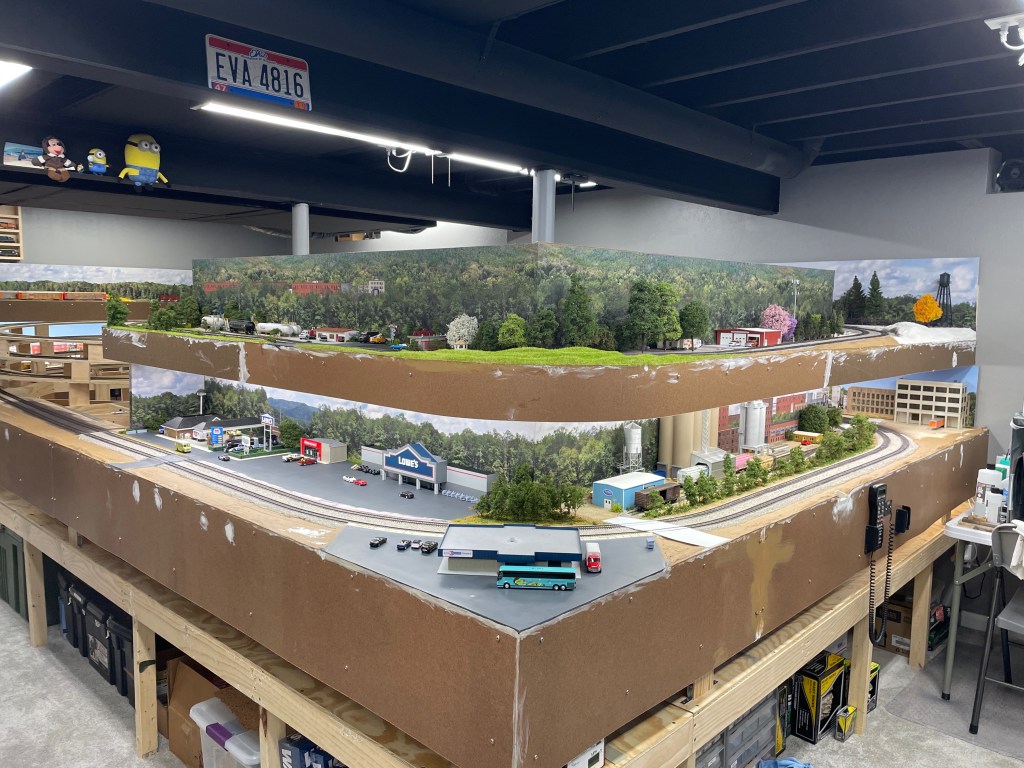
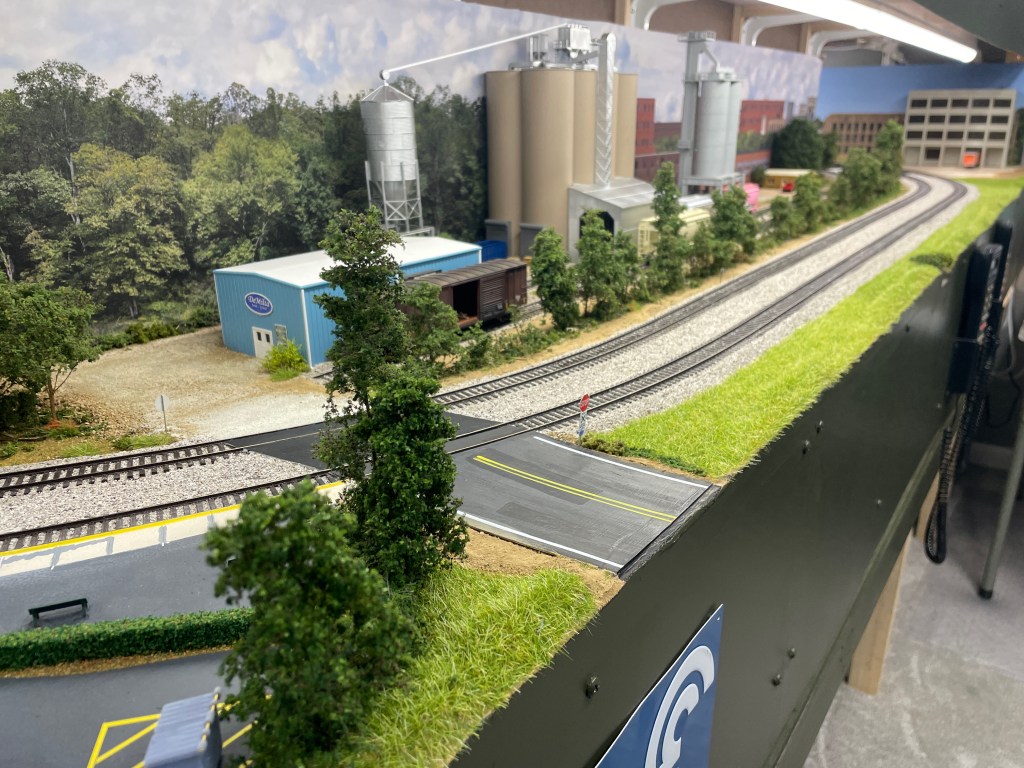
Side shot after the mainlines were laid and in place. I was originally thinking a farm would go on the corner location where the tractors are located, but decided the Amtrak station would be better suited for that area.
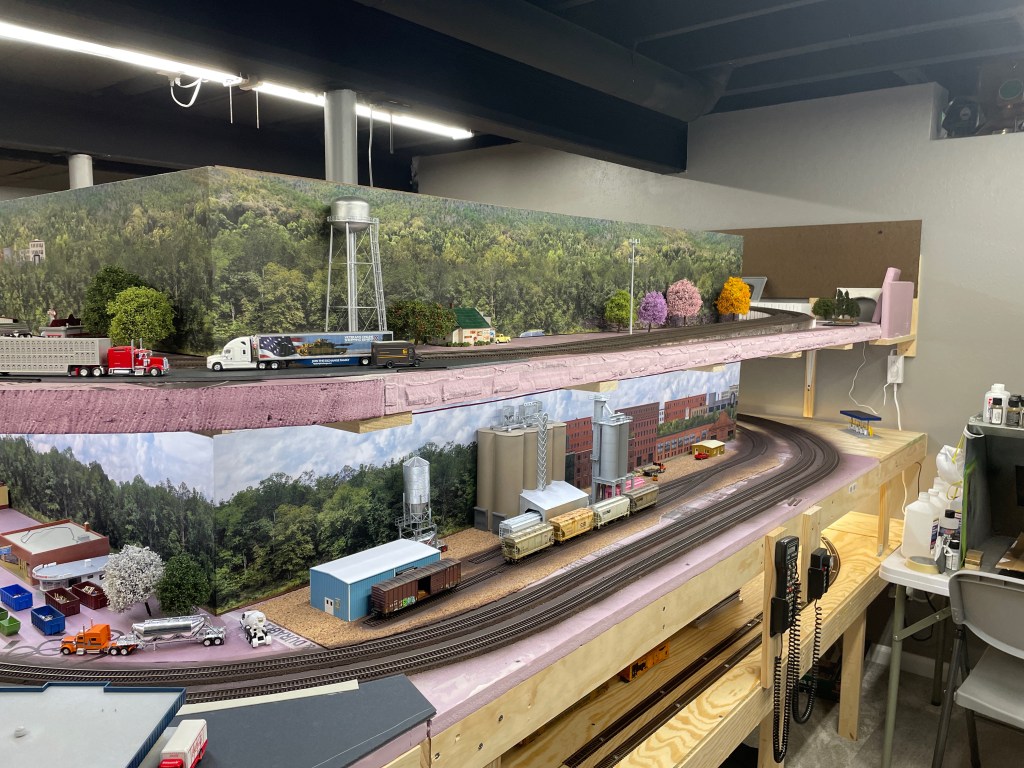
Somehow I missed getting a photo of the backdrop being installed and test fitting all of the structures, but this is how it ended up. The backdrops are from Trackside Scenery and are very easy to install. I went with the prints that had the adhesive backing instead of trying to use wallpaper paste or 3M spray adhesive.
The track was sprayed with Krylon Camo Brown and then the rail tops were cleaned while the paint was still wet. I cleaned the track with a Walthers cleaning block to remove the paint and polish the rail head once the paint was fully cured. This left the sides of the rail with a nice, dirty rust color. Down side, I had to leave the basement after spraying….PSA: make sure you were a good mask!!

I used a sheet of 1/8′ cork as the base for the track and structures. In this photo you can also see my first experiment with lighting. I used some string LED’s that I got from Lowes, but the adhesive wasn’t strong enough to hold the lights in place and they kept falling. I ended up going with single tube LED shop lights that were able to be daisy chained together. You can see those in a few of the photos below
Next, I ballasted the tracks using Arizona Rock and Minerals, which in my opinion is one of the best products out there. It’s real rock and easy to handle. I used a 50-50 mix of water and matte medium to secure the ballast. I soaked the ballast first with isopropyl alcohol which acts as the wetting agent and allows the glue mixture to penetrate the ballast without any floating or movement of the rocks. After that dried overnight, I started adding the basic ground cover materials. I used dirt from Scenic Express and other ground foams from Woodland Scenics. Over 95% of the trees on the layout are made using Scenic Express Super Trees. There are a lot of good tutorials on how to make them, so I won’t cover how I built them here, but I followed the same basic guidelines. I also use Creative Accent trees as they have thicker trunks than the super trees to add a little more variety.


The next phase was done after adding the front fascia to cover up the front and give it a finished look. I used 1/8″ hardboard/Masonite that all of the big box home improvement stores carry. It’s flexible enough to bend and easy to cut with a sharp utility knife. I had the store cut the board into 14″ strips, which is what the lower level uses. It covers most of the staging level below, but still leaves room for me to get in there if needed. I tried several different colors ranging from black to light browns and settled on the darker green. I think it blends the colors better and it was the most visually receptive. I do plan to add a black, removable skirt to cover the lower portion of the layouts legs.

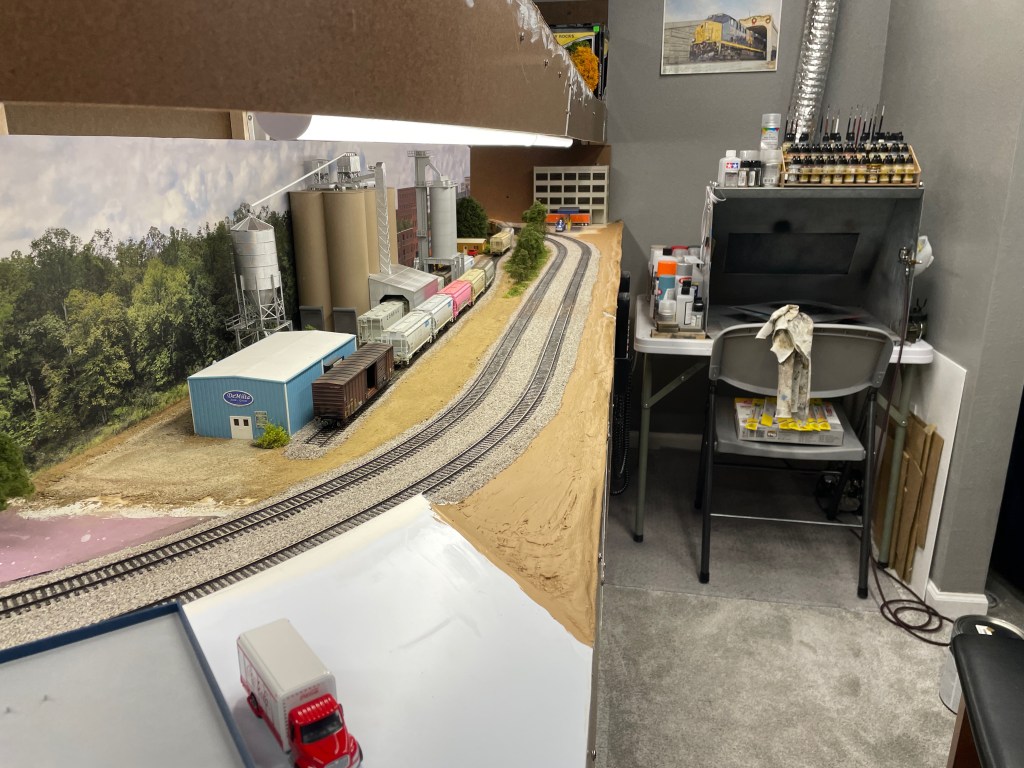


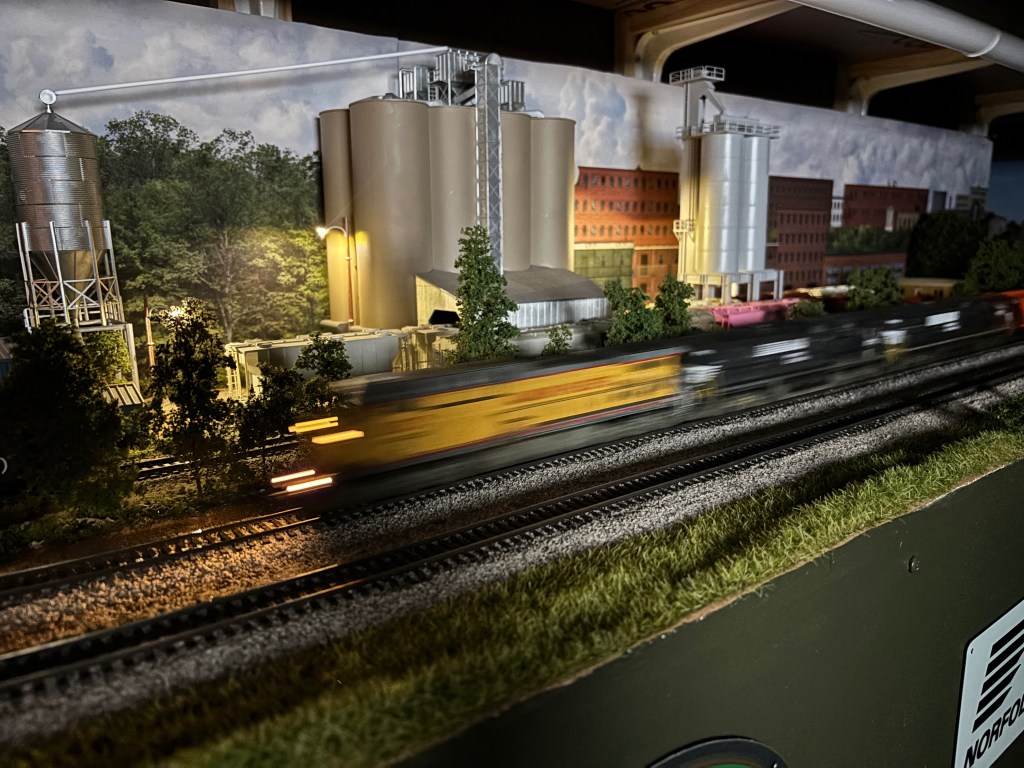
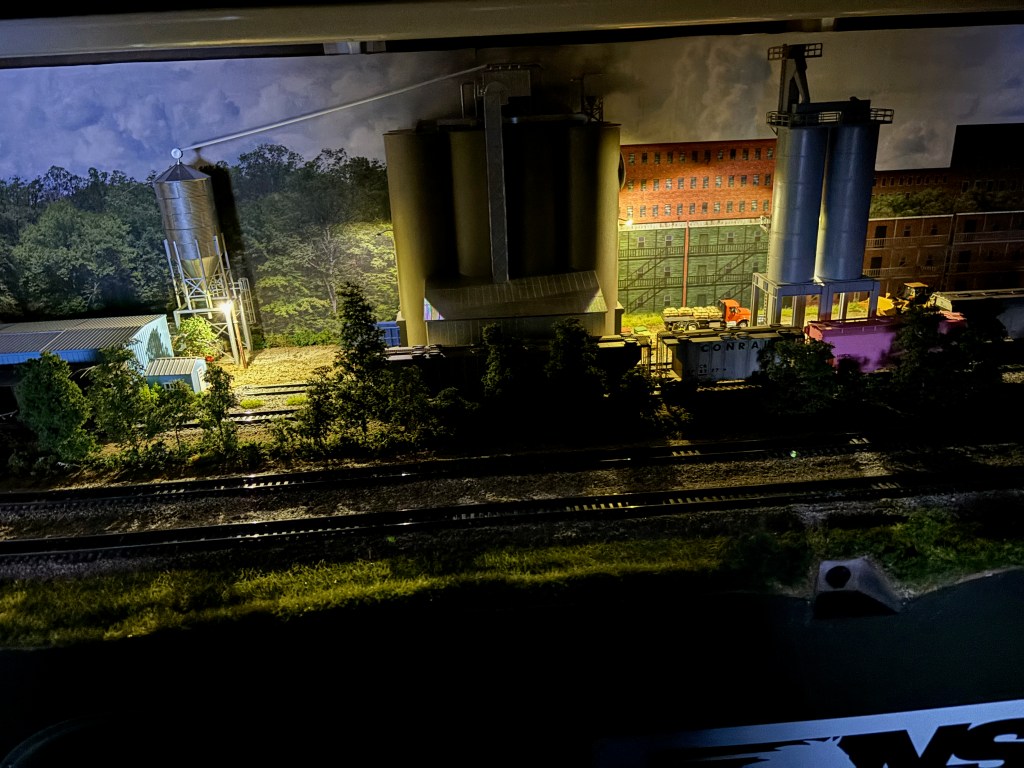
The final step was to add some lighting around the facility for night operations. I used lights from Woodland Scenics and Walthers Scenemaster as they are the easiest to wire and don’t require any resistors. I kept the wiring simple as possible as I hate electrical work.
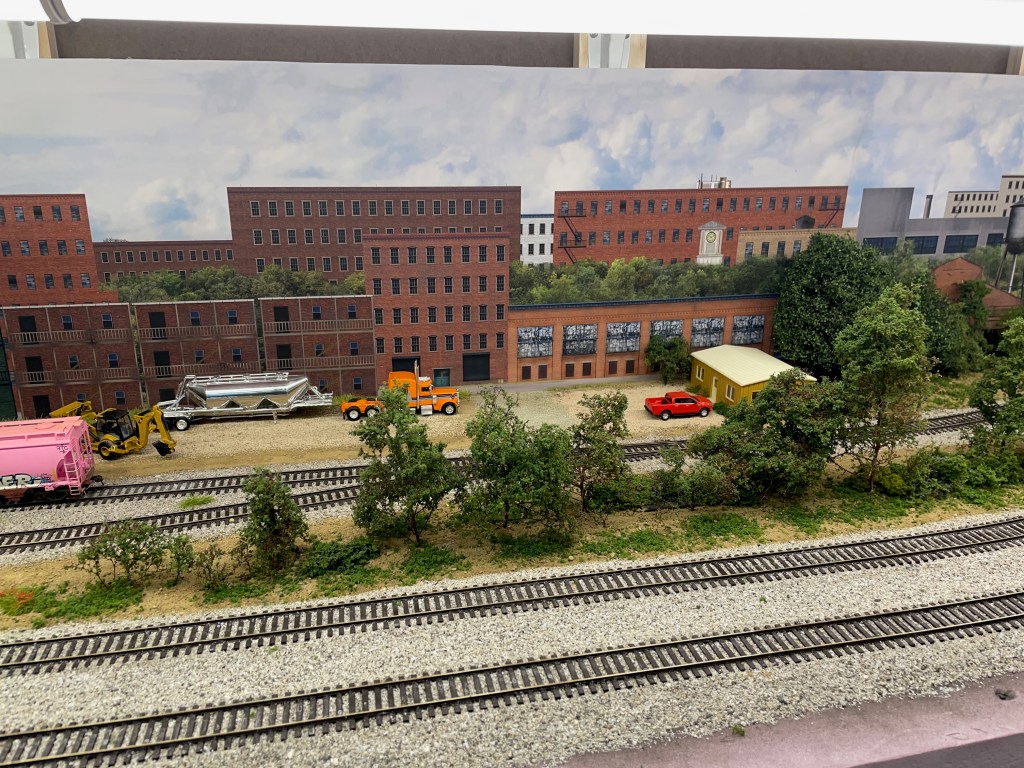
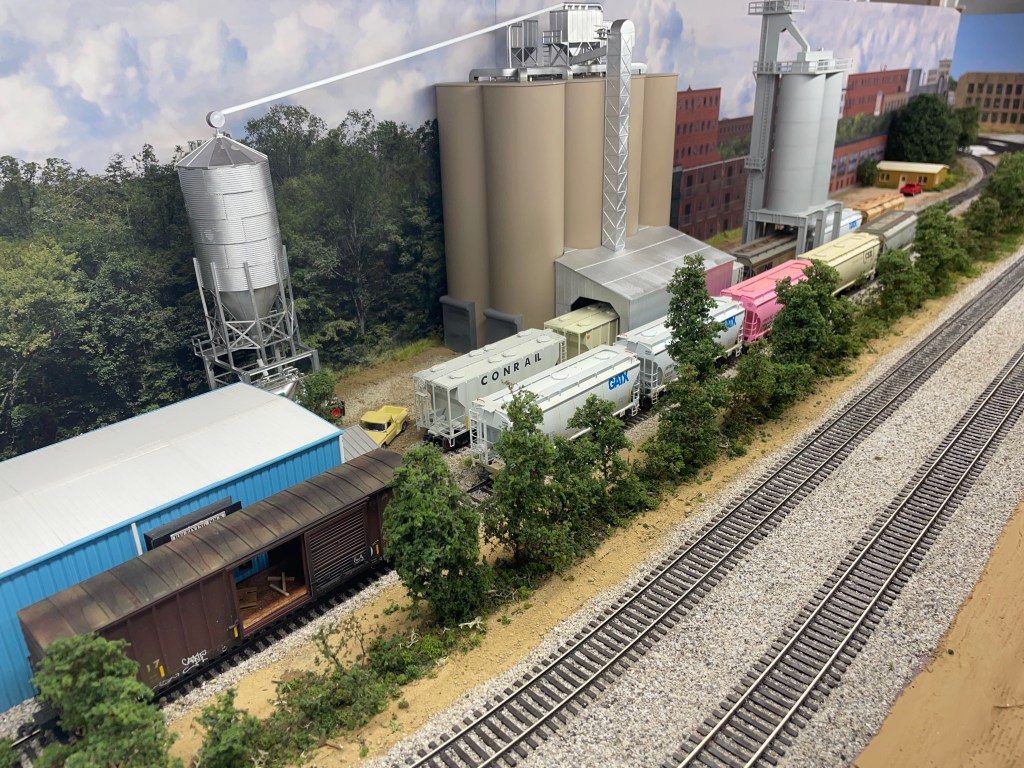
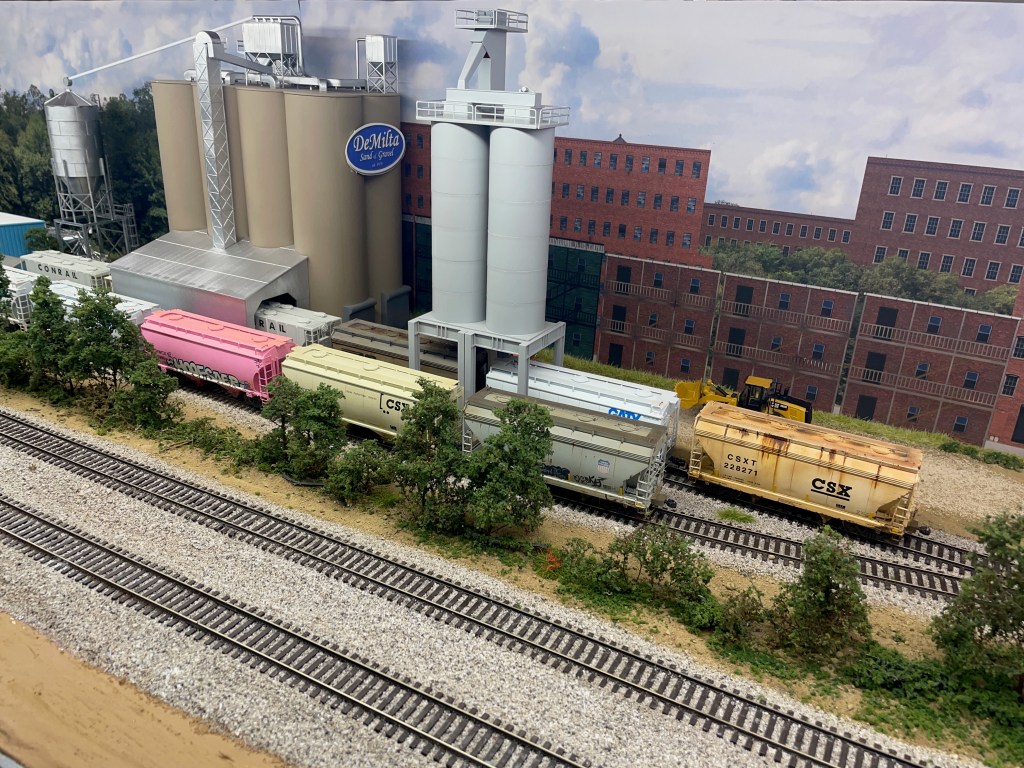
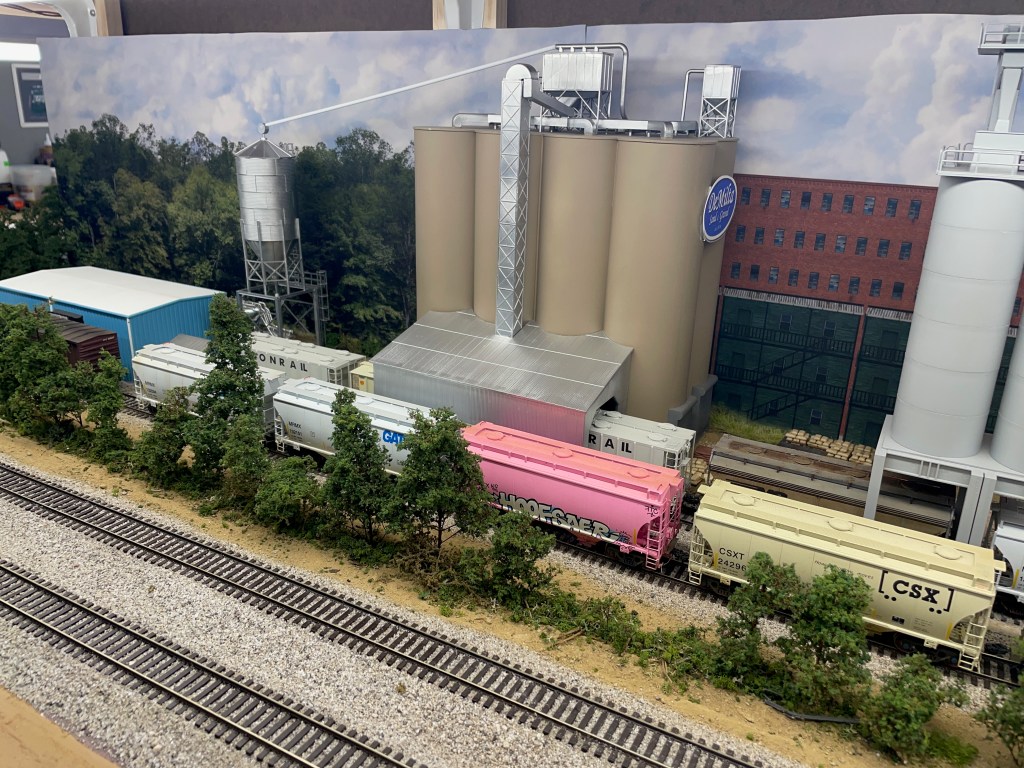
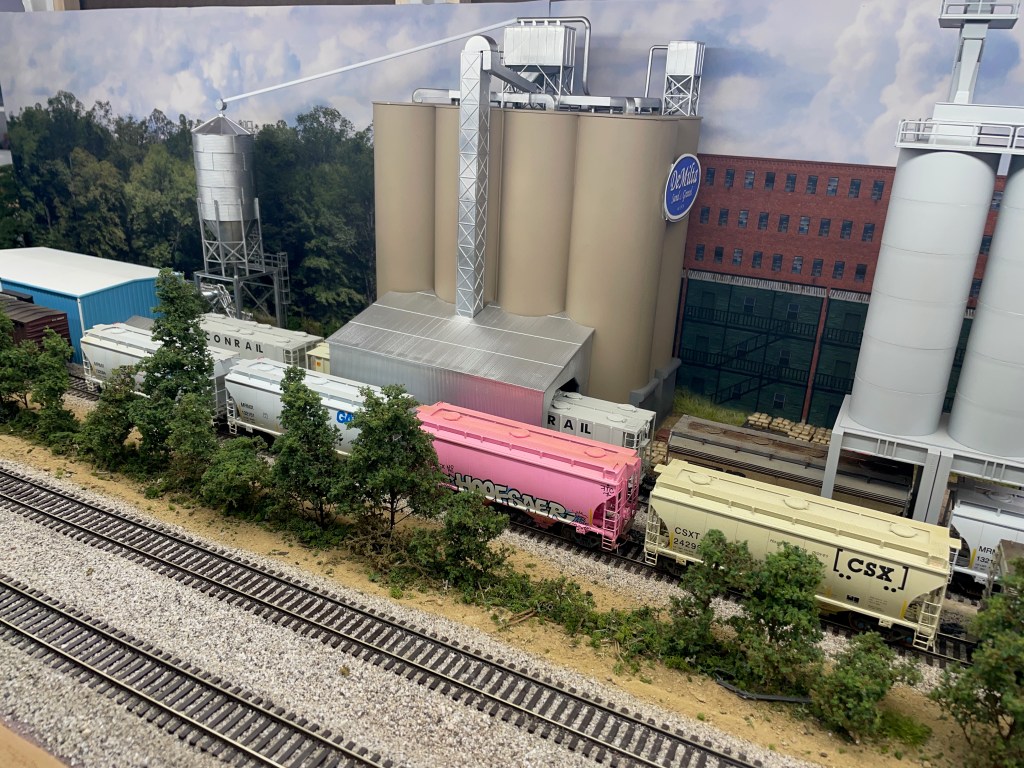
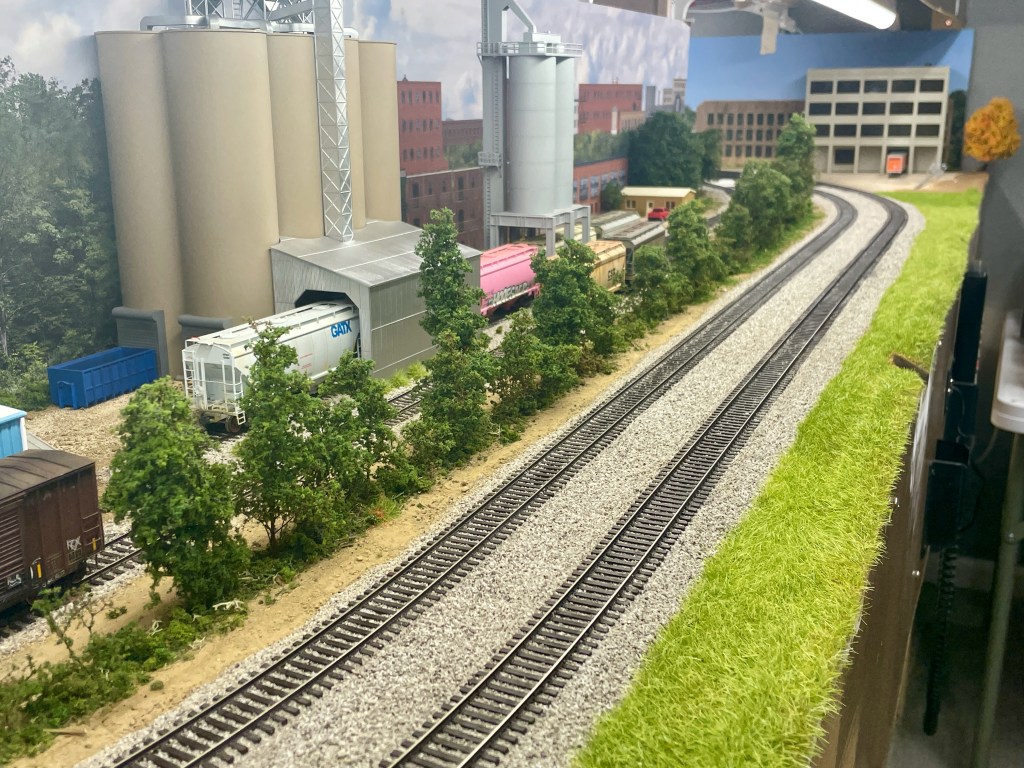
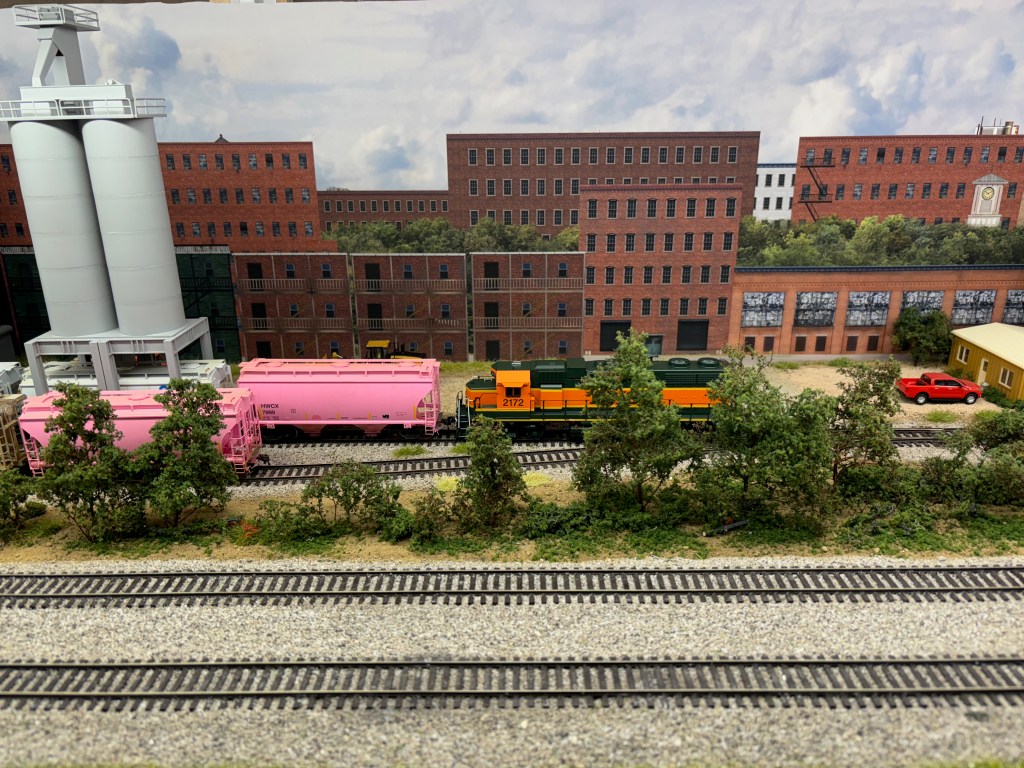
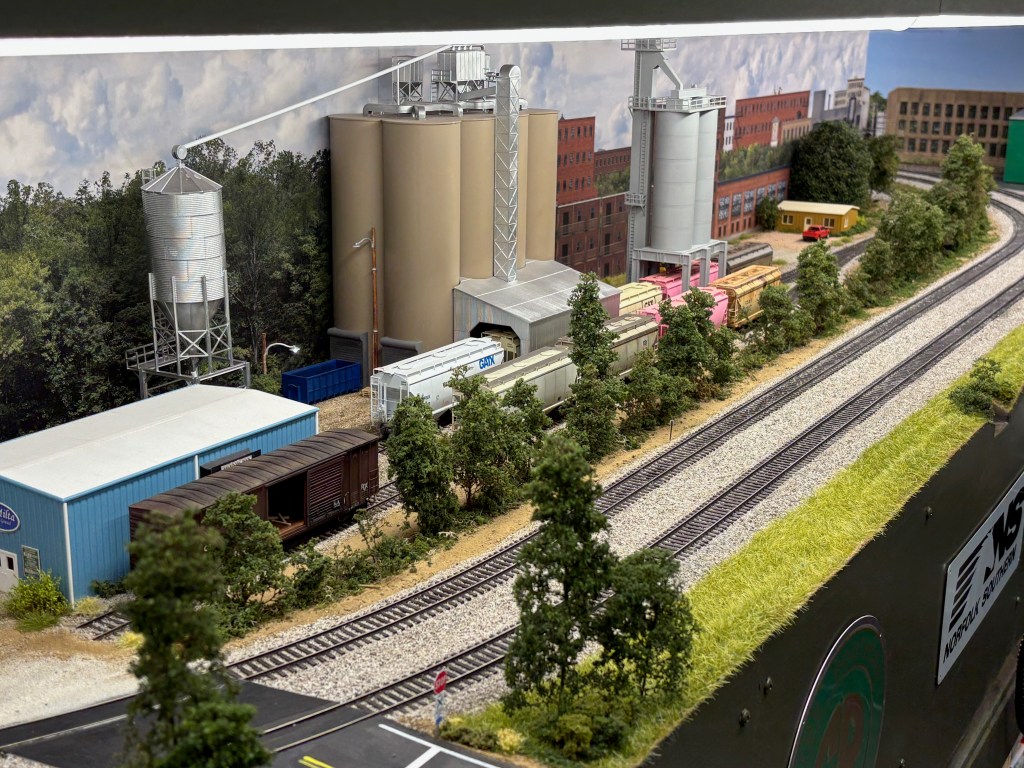
This is how the scene looks as of July 2025.


Leave a comment