The new layout that is currently occupying our basement started in September 2023. I had just gotten back from a trip where I had plenty of time to think about what I wanted to improve from my previous layout. Here’s a list of the biggest differences between the last layout and the current version:
- Duckunders – my last layout had 2 of these little back busters…the new one has zero…
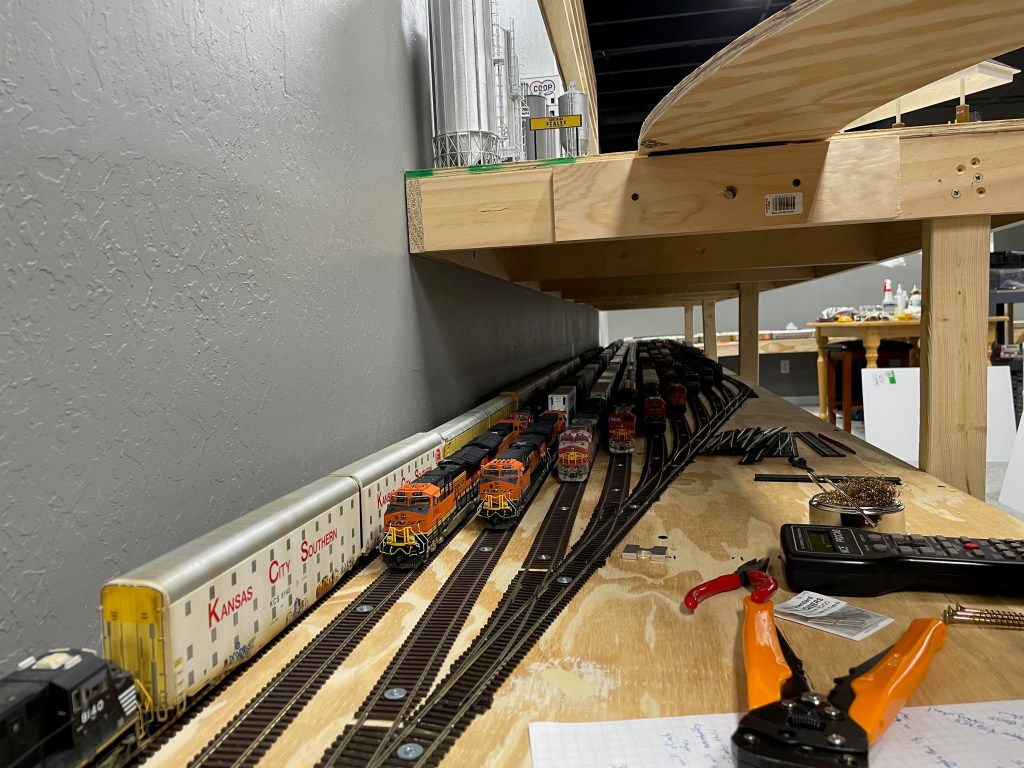
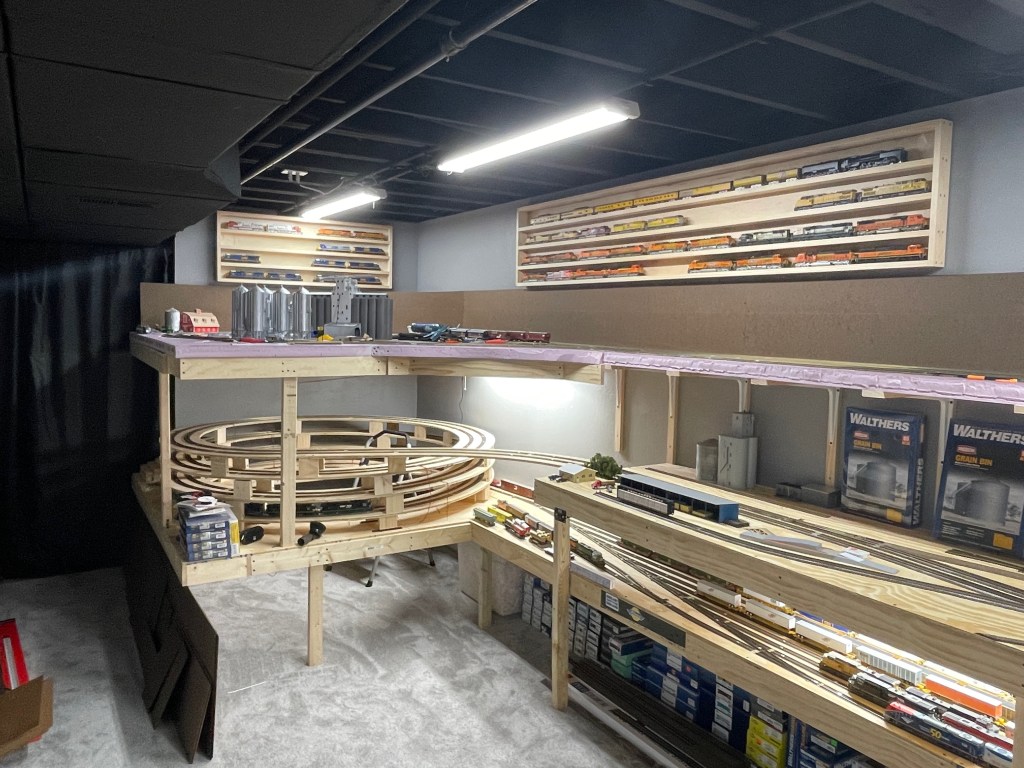
- No Staging – didn’t have a place to park trains…now I have 10 tracks available…
- Short trains – longest train I could run was just under 50 cars, but then it was practically chasing itself…I’m still limited to 50 cars due to the helix. Anything over that and the trains become too heavy and tend to stringline themselves on the way up….DPU’s may solve this problem in the future, but I haven’t experimented with those yet….
- Longer runs – it took about 4 minutes to make a complete loop, new layout takes just over 20 minutes at the same speed…
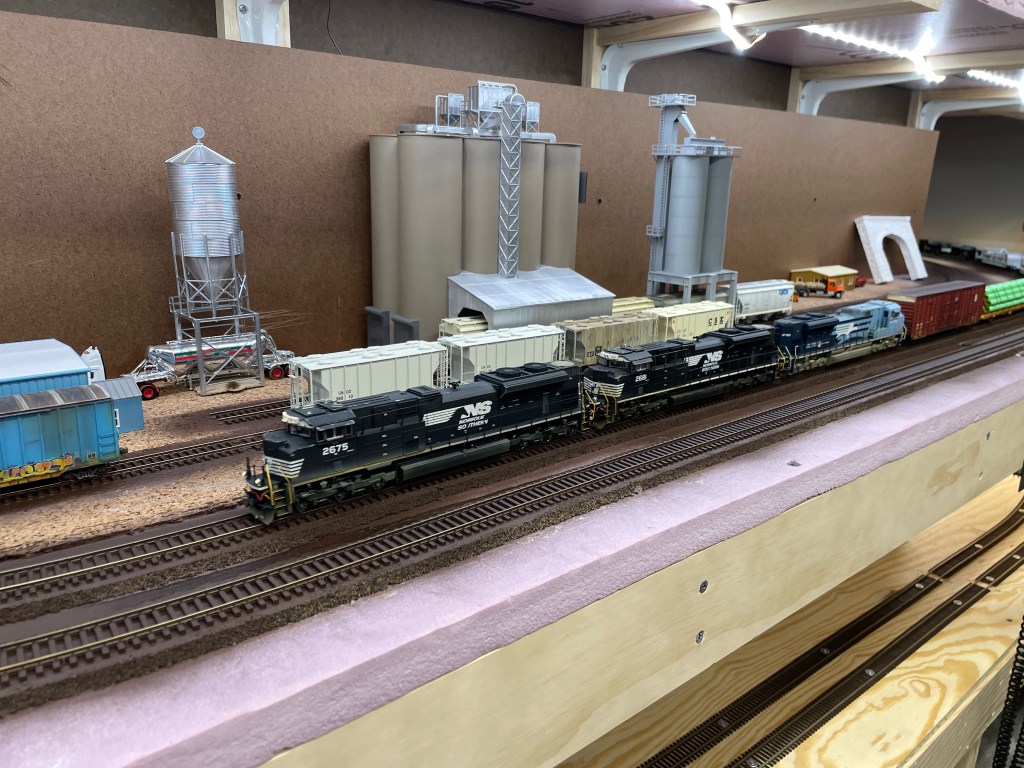
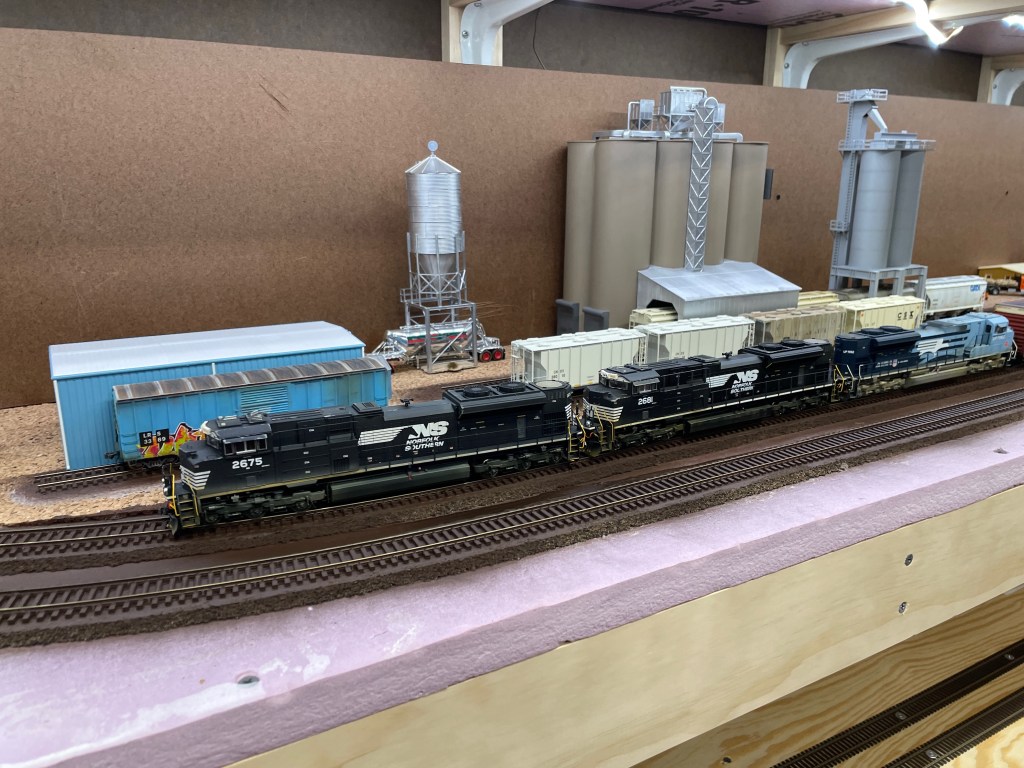
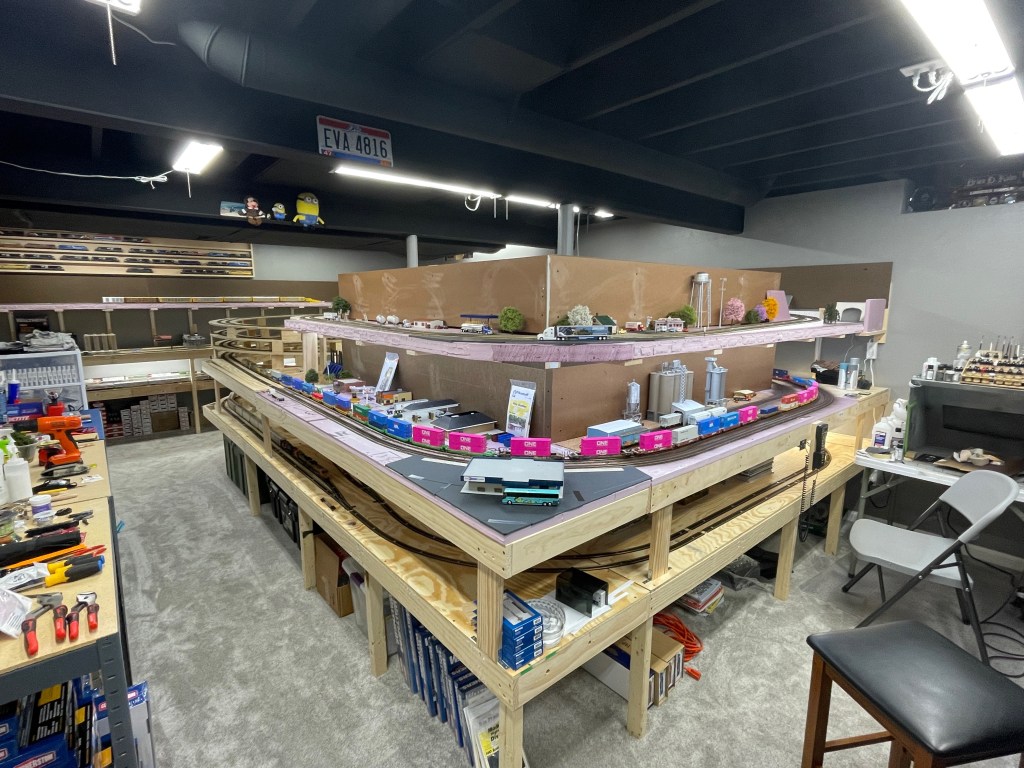
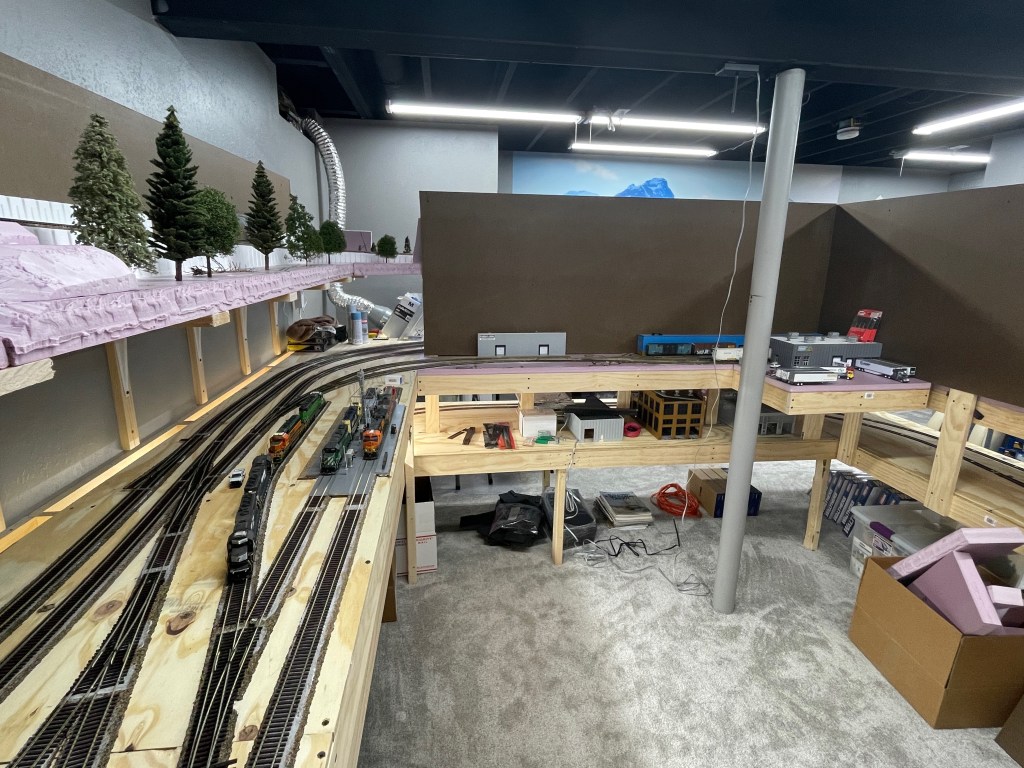
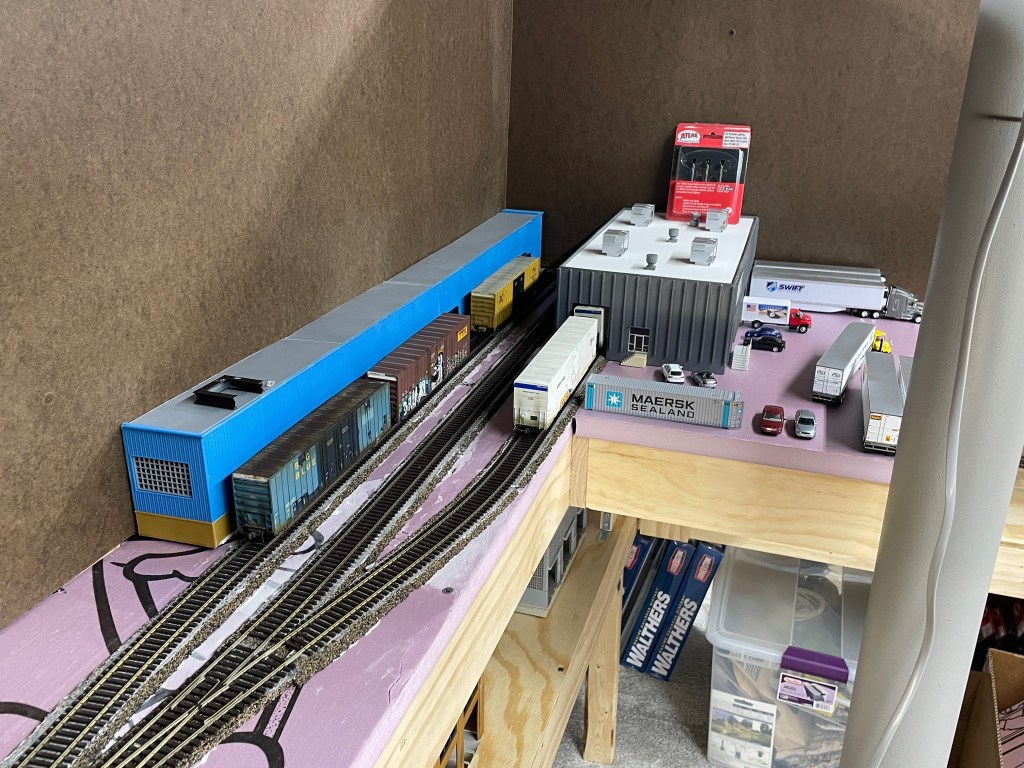
- More scenery – I was limited on the amount of industries and general scenery, two levels give me more real estate to play with…
I started sketching out some initial thoughts on the benchwork for the space I had available. Below are some of those sketches:


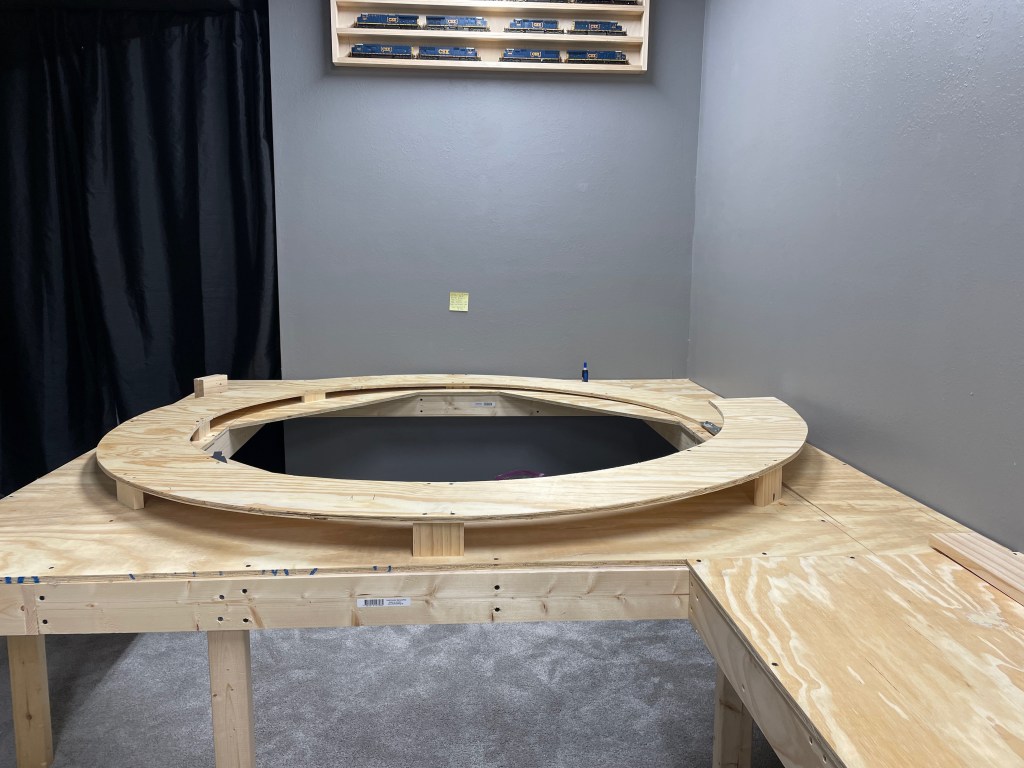
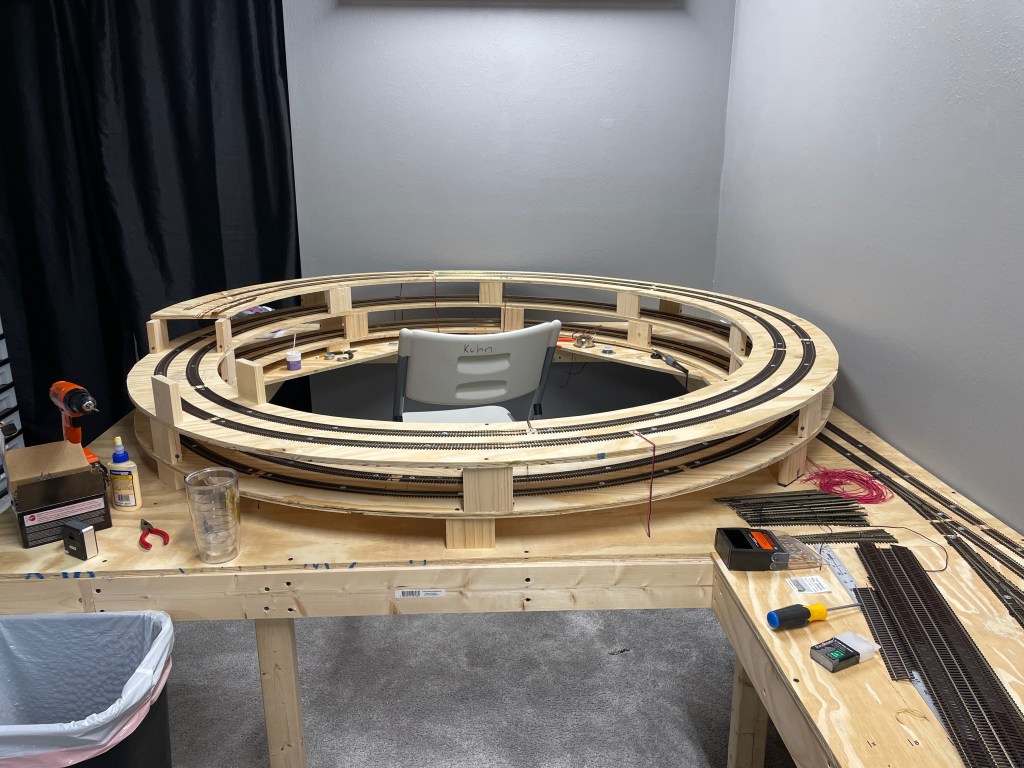
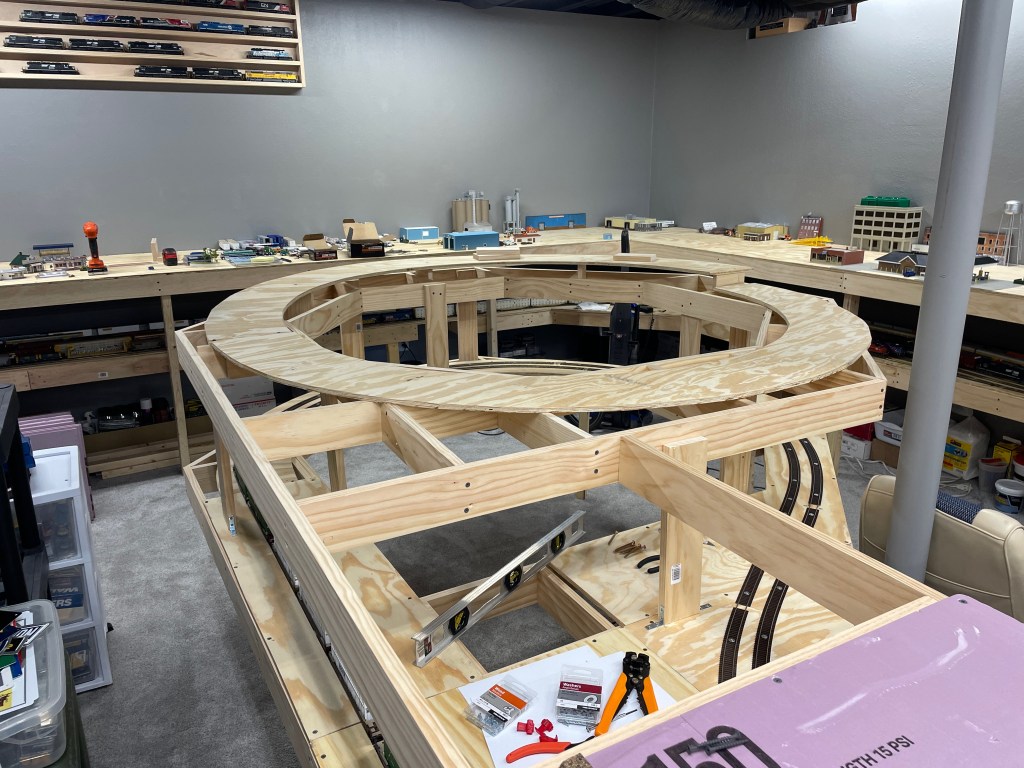
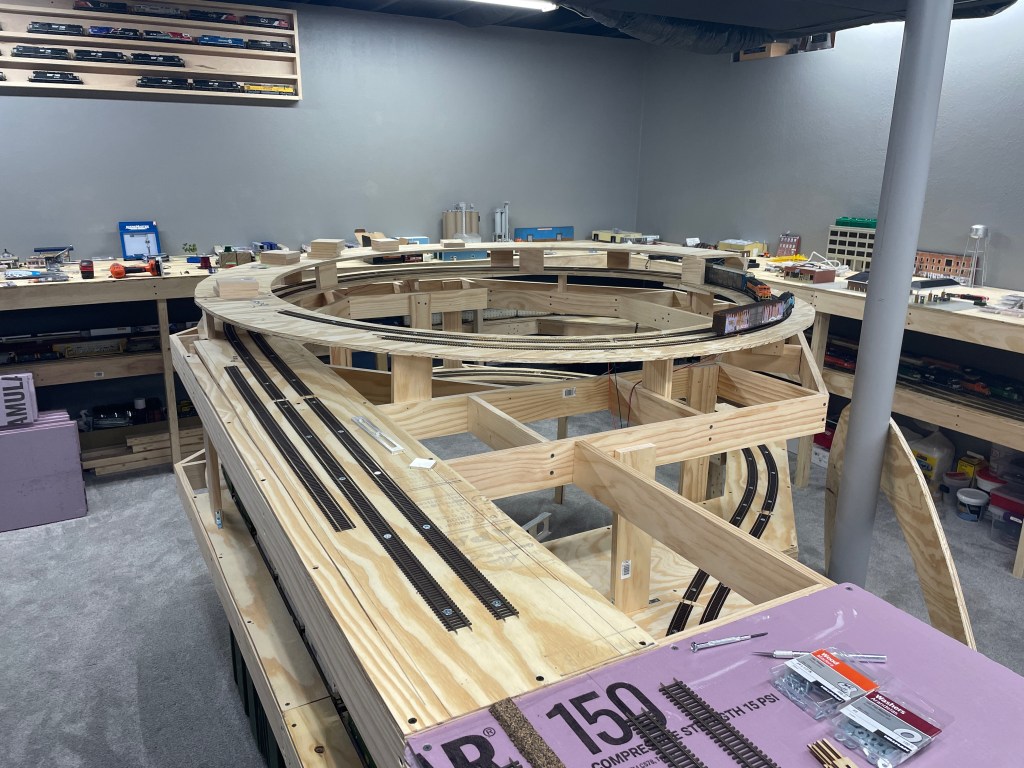
The final design ended up looking like the final photo, minus the bump out near the helix. Speaking of the helix, here is the basic math that I came up with. Both are 4 turns and based on the 6.5′ box, worked out to a ~1.78% grade for both of them. They are constructed out of 14/32″ plywood and are very stable. I was able to get one full turn from a single sheet of 4×8 plywood. I used the scraps for other parts of the layout.

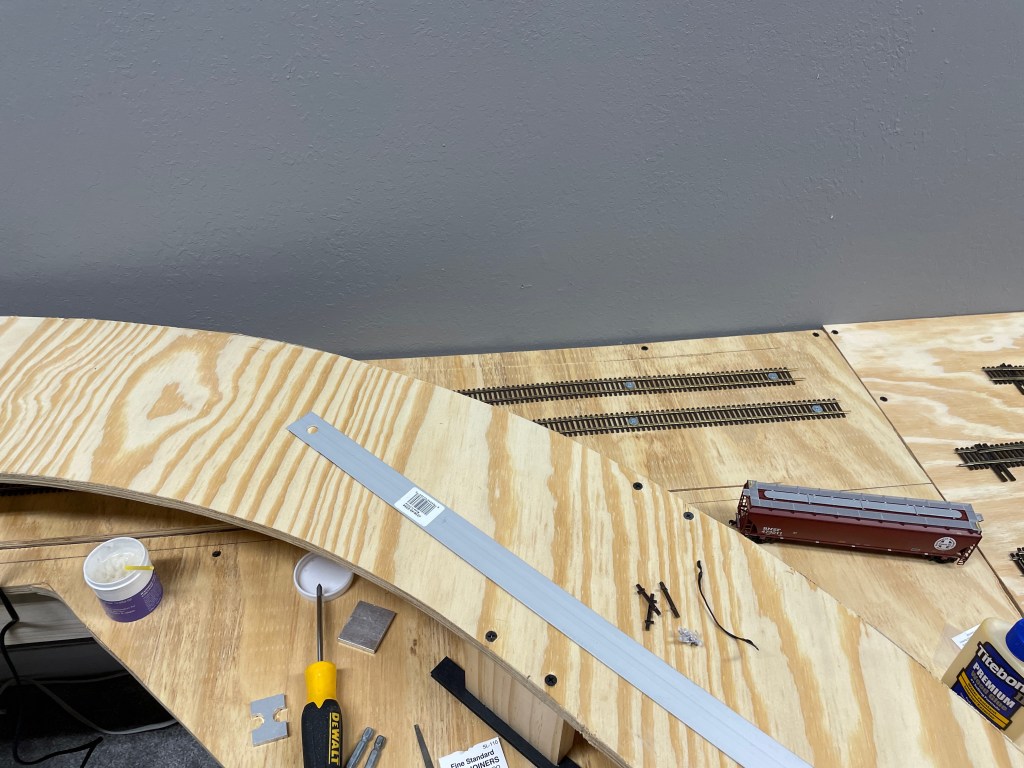
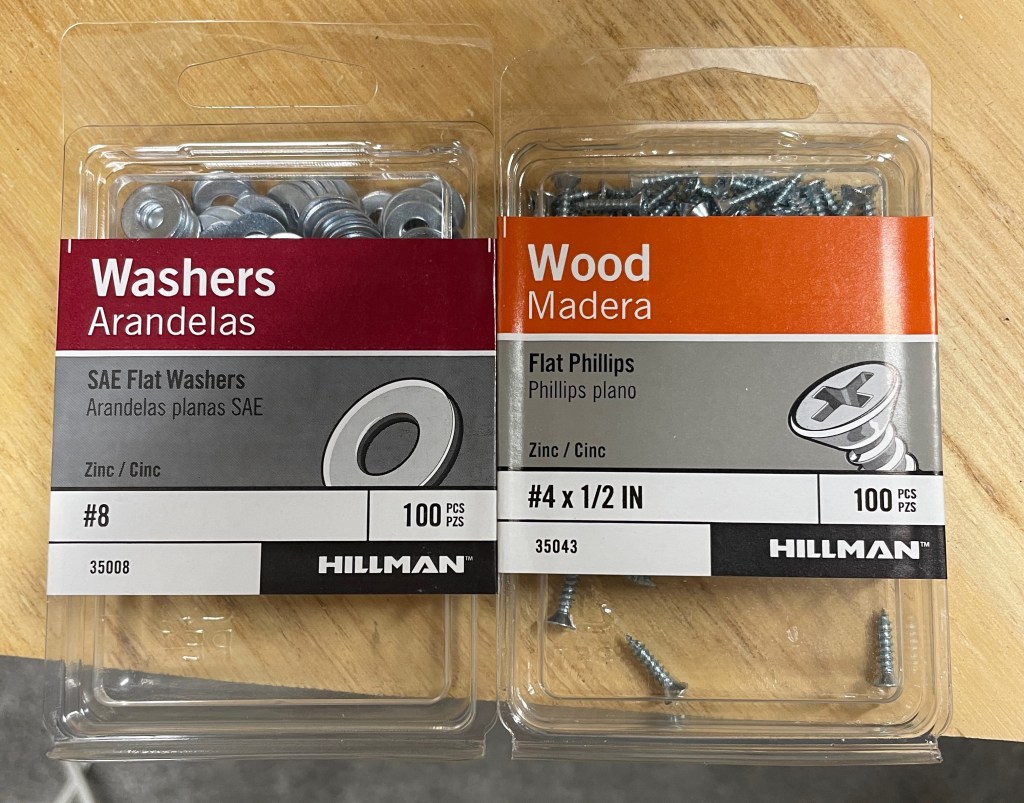
The outside loop is 35″ and the inside is 32″ with 3″ between the track centers. This was plenty of space for the the longest cars I run – 89′ autoracks. I used Fast Tracks “Sweepsticks” to help maintain uniform curves through the helix. Those sticks are worth their weight in gold. Inside the helix, I decided to go without a sub roadbed after seeing several other layouts utilize this method. I have had zero issues with it and the noise is negligent when trains are operating on it. The tracks are secured with simple screws and washers, which made track laying fast and painless. All flex track is soldered together and there are 2-3 feeders per level.

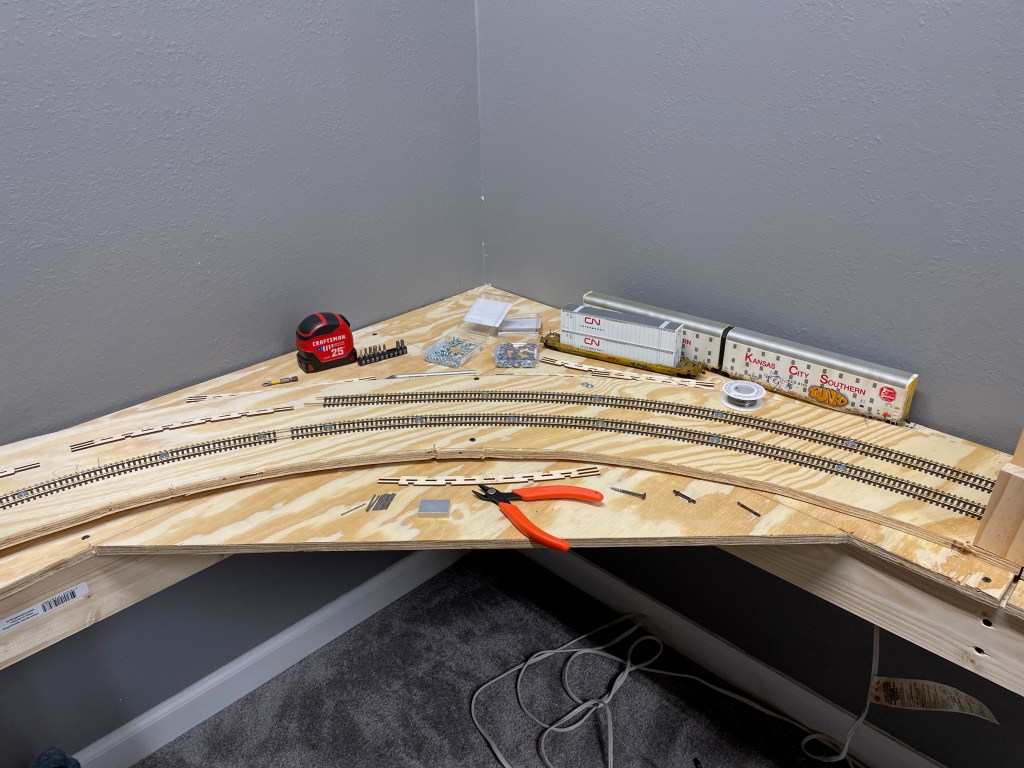
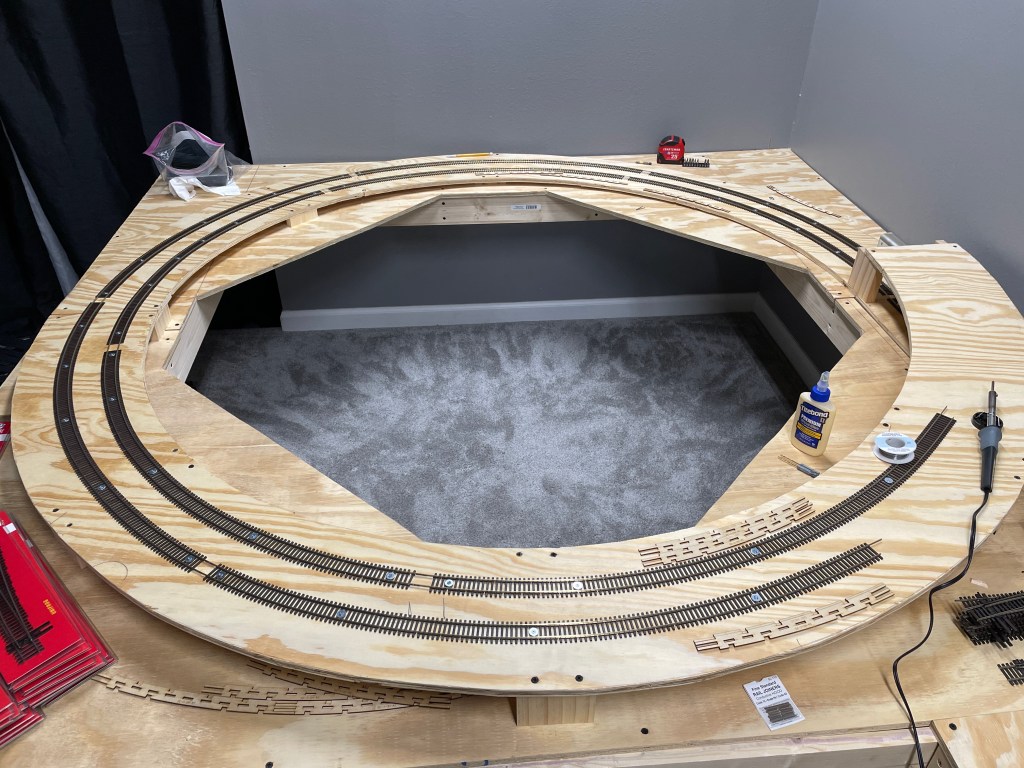

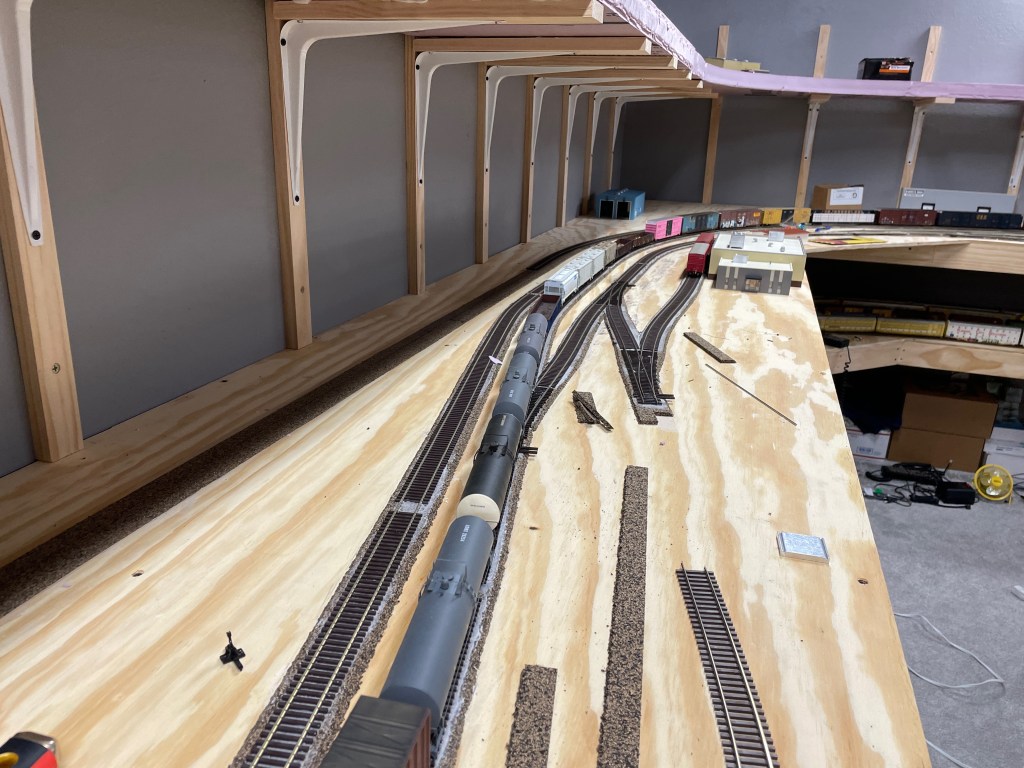
Once the helix was completed, we turned our attention to the lower staging levels and return loop.


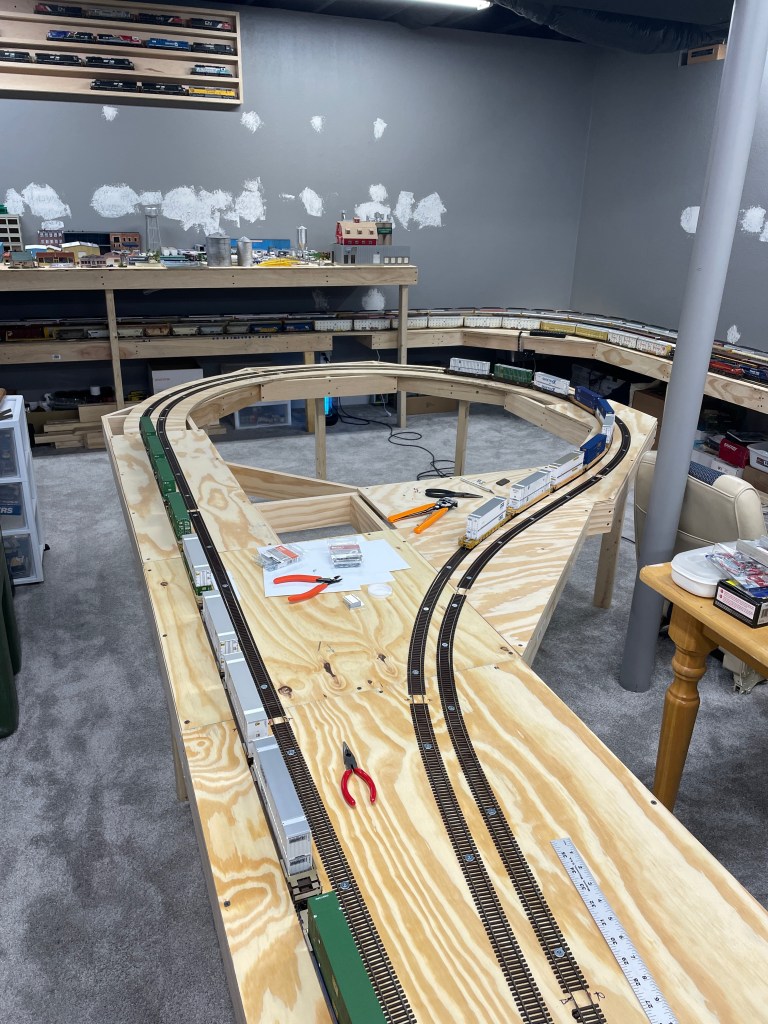

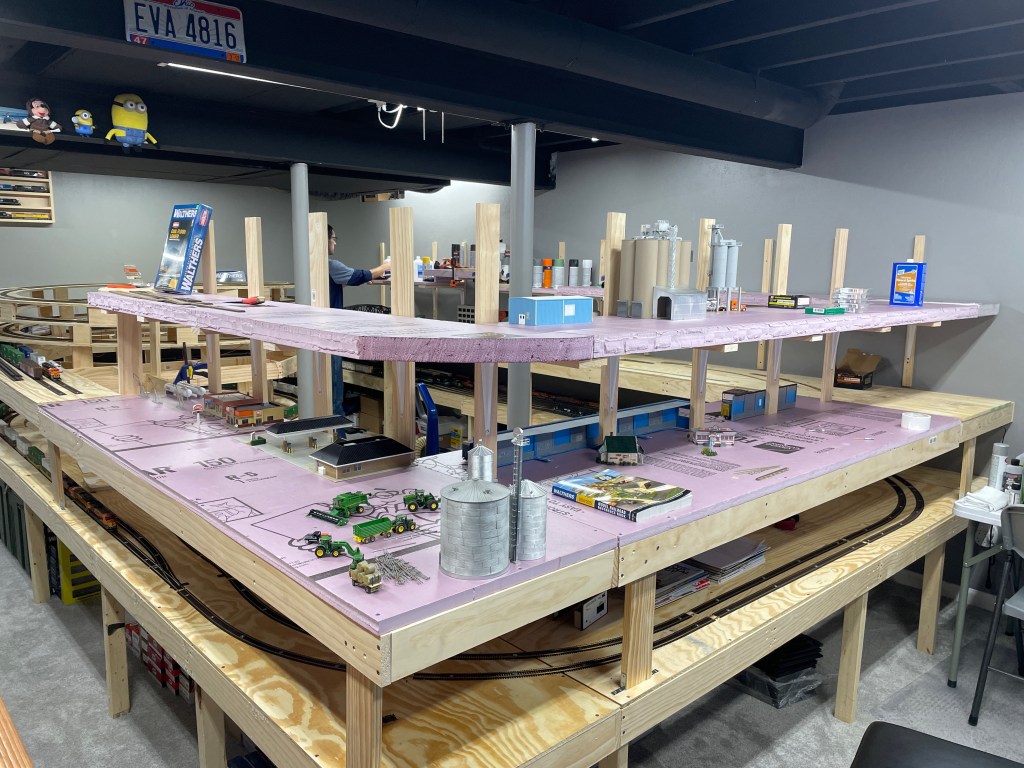
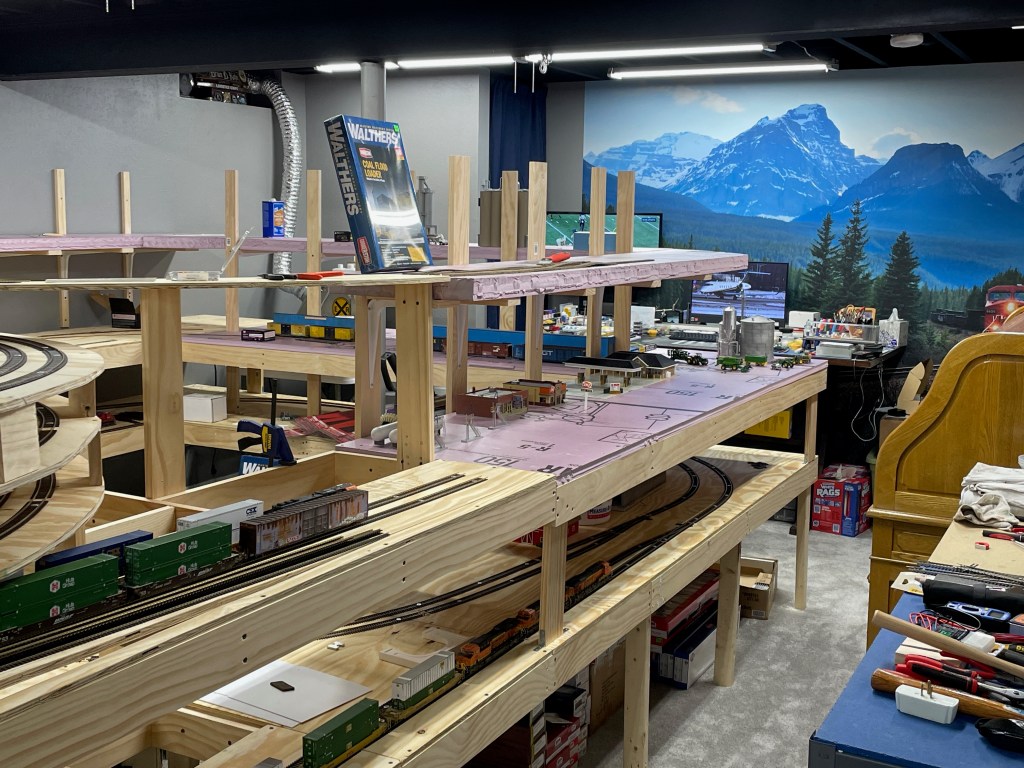
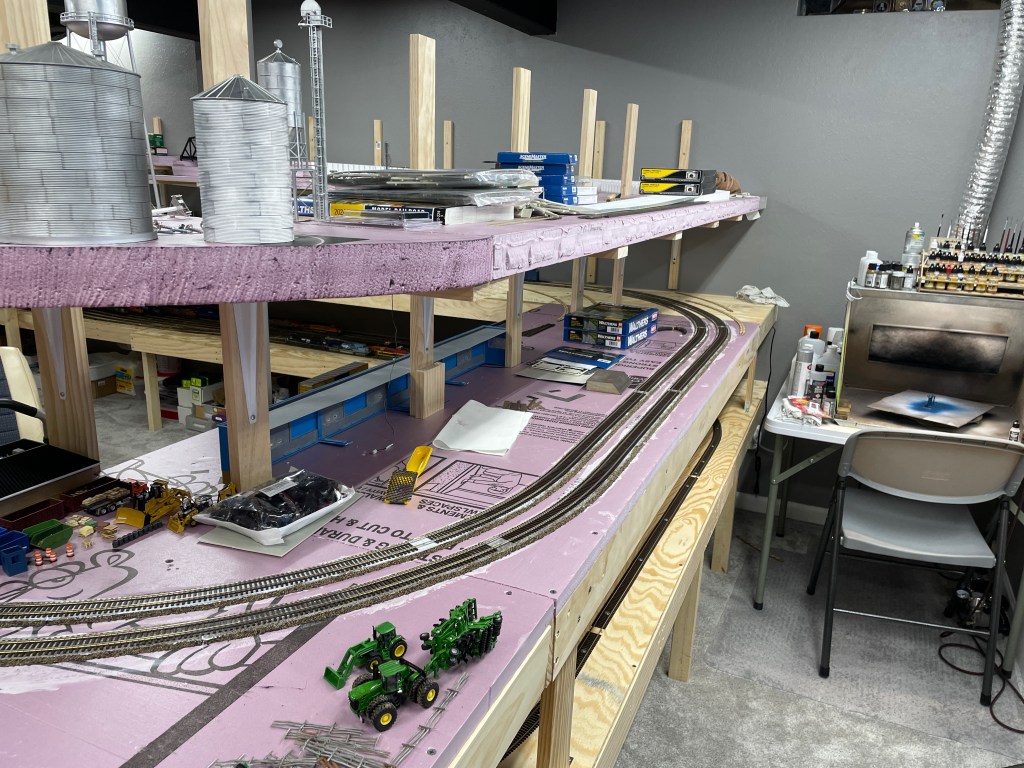
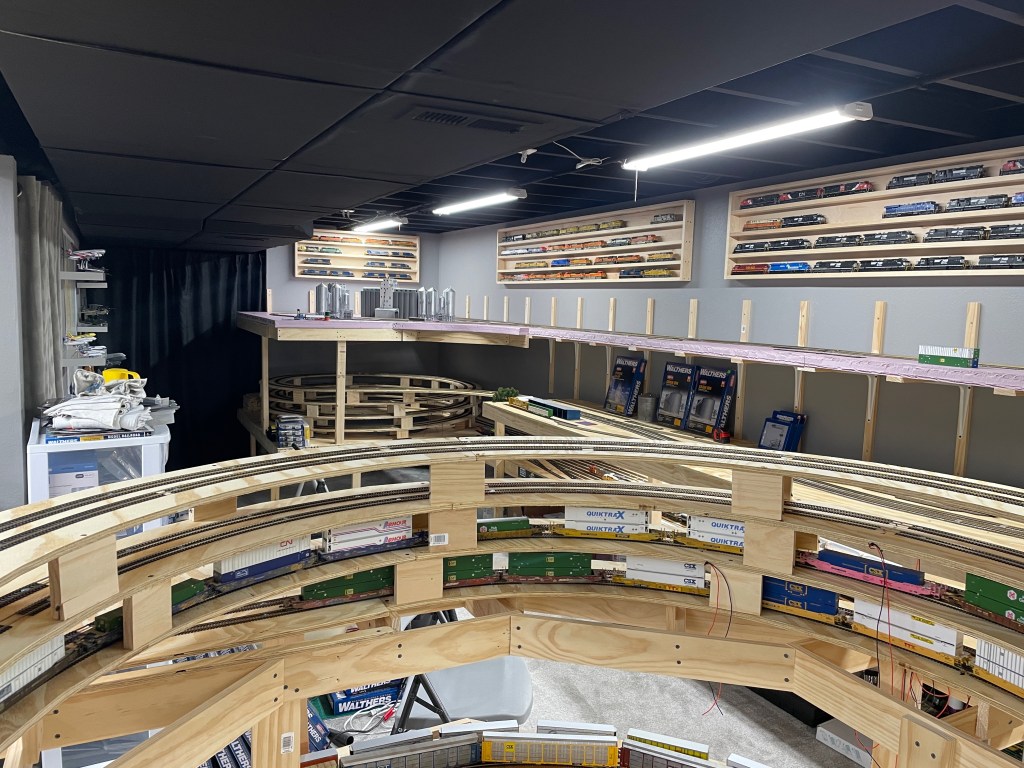
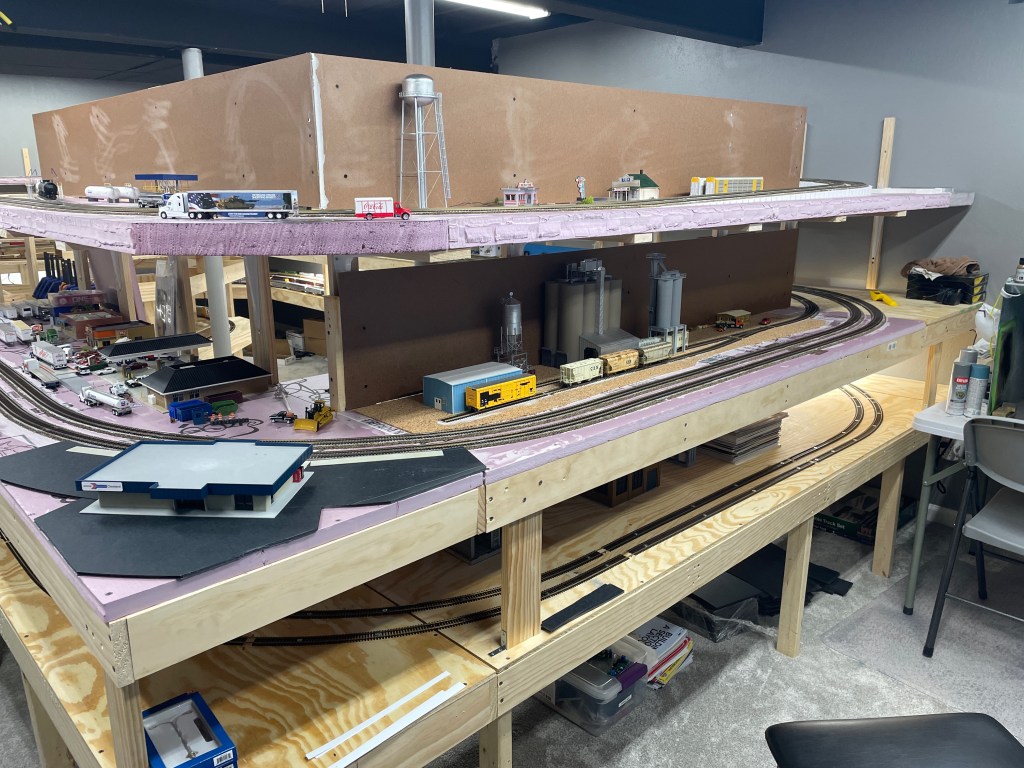
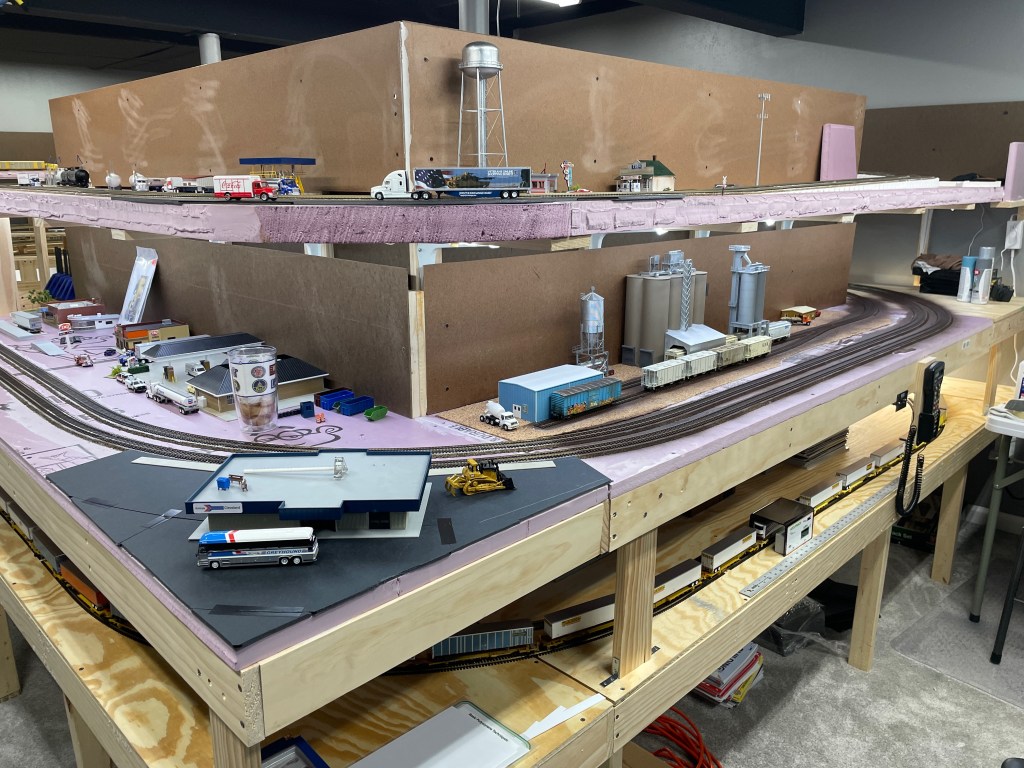
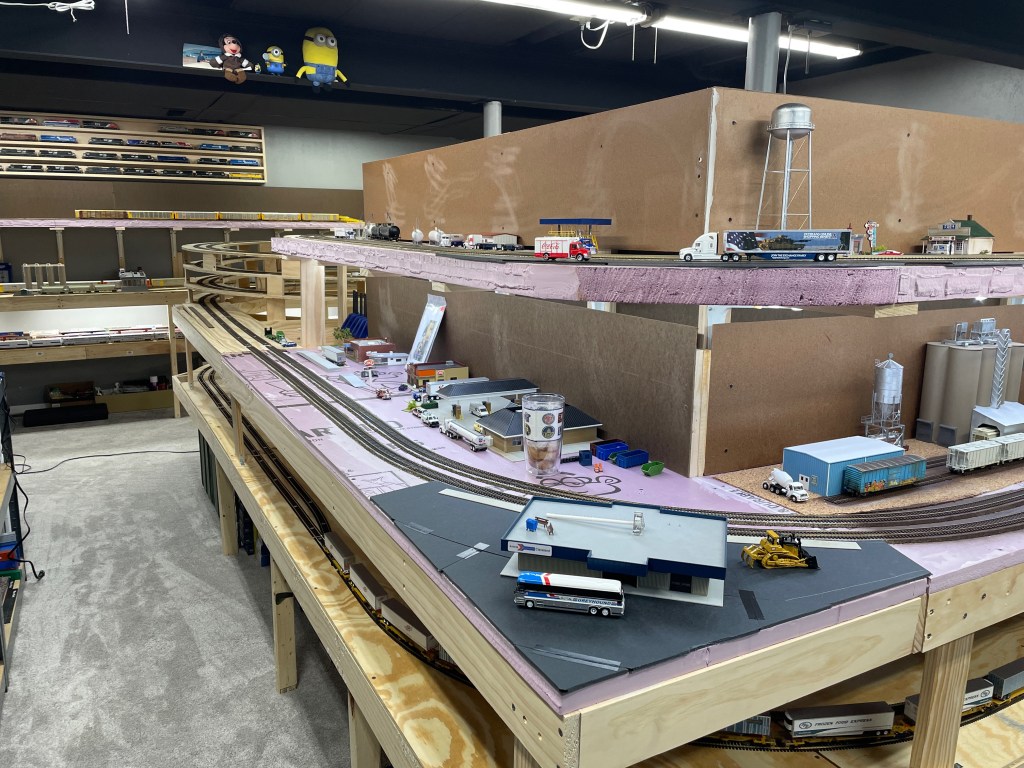
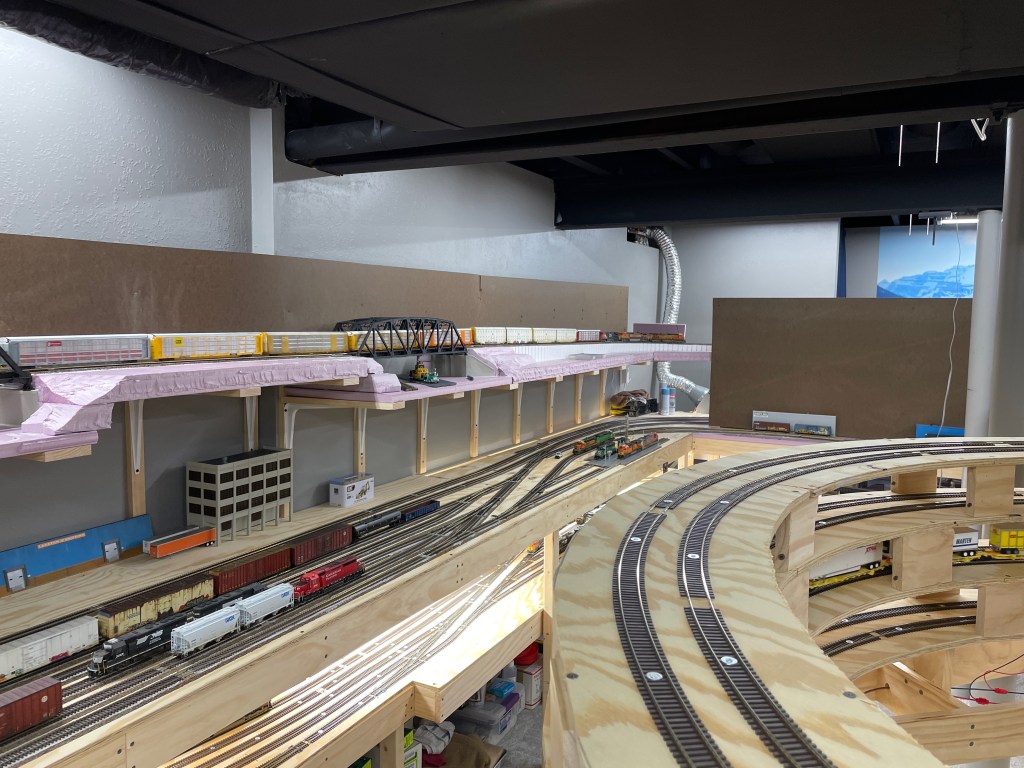
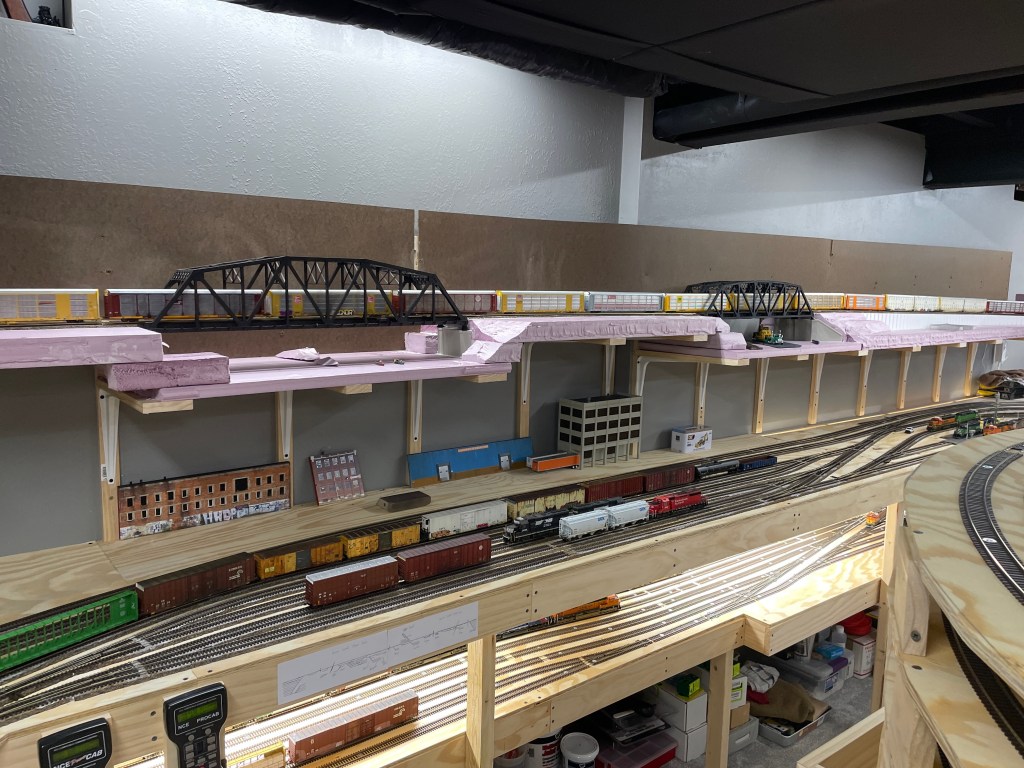
Once that was completed and I was completely satisfied with defect free operations, the second level was started. We started the first helix just after Labor Day and had the lower staging completed by the end of October. Once the second level was up, we started the second helix, which is pretty much an exact copy of the first one. All second or main level is build with a box and girder style system. The base is 15/32″ plywood along the walls, while the remaining base is 2″ pink insulation foam.

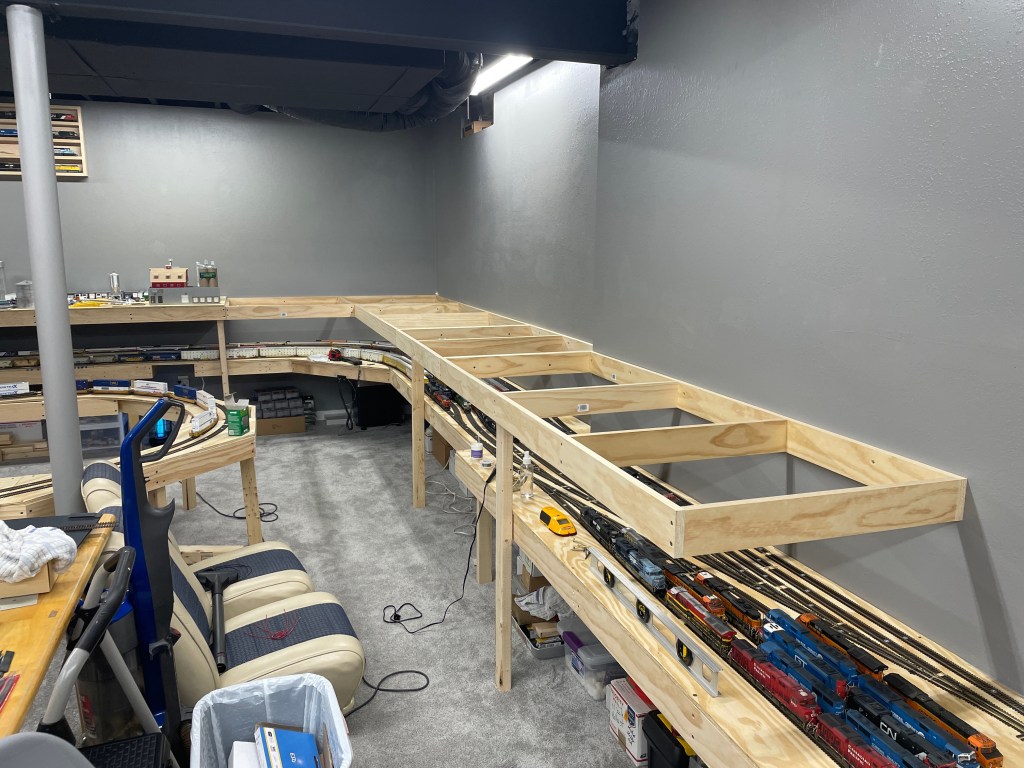


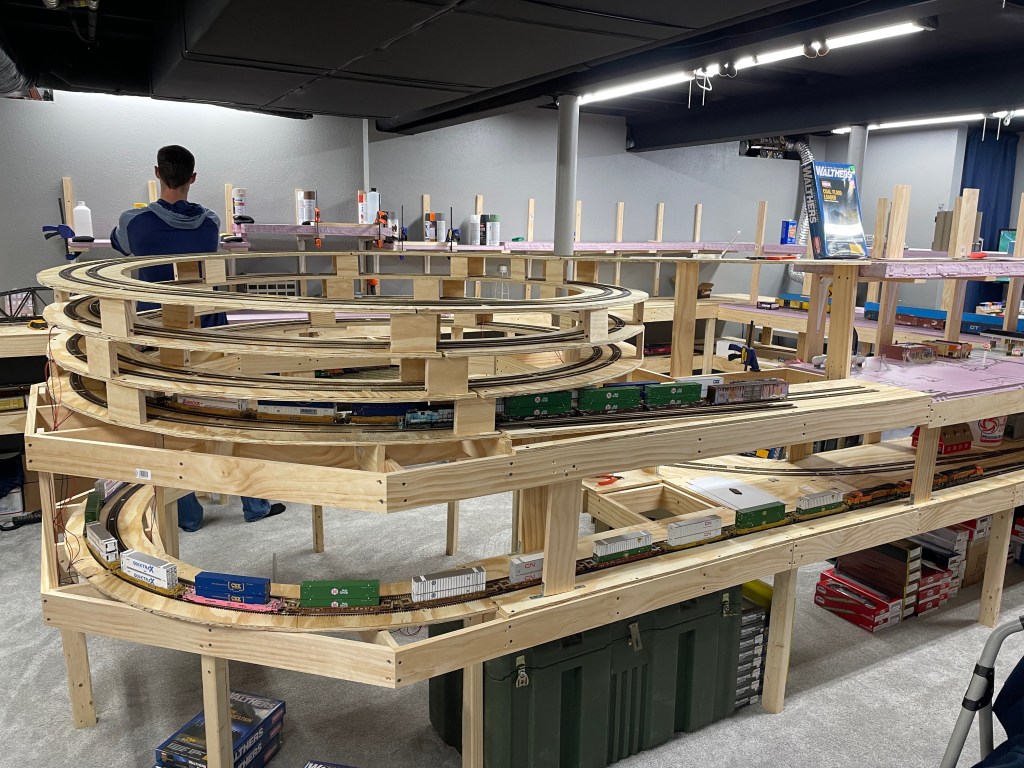
The third deck is 2″ pink foam resting on industrial brackets with 1×3 wood boards cut to provide a wider base for the foam to be glued to. The upper deck was completed between Nov 2023 and Jan 2024. The mainlines were also being laid and tested as we went to ensure smooth operations.


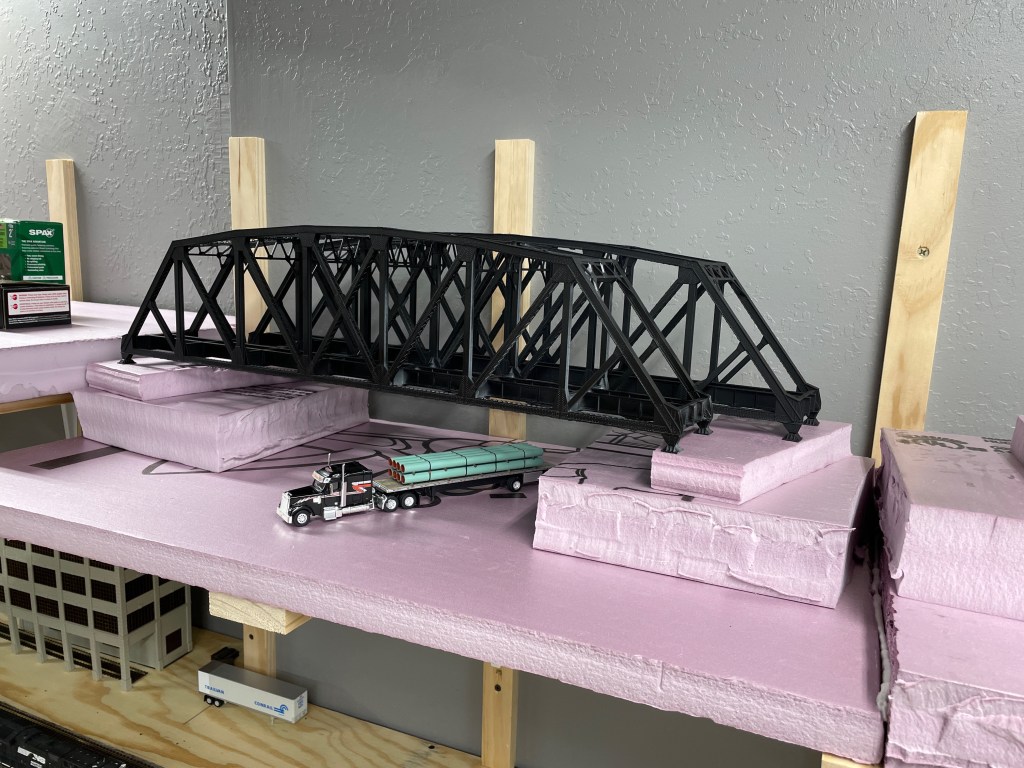
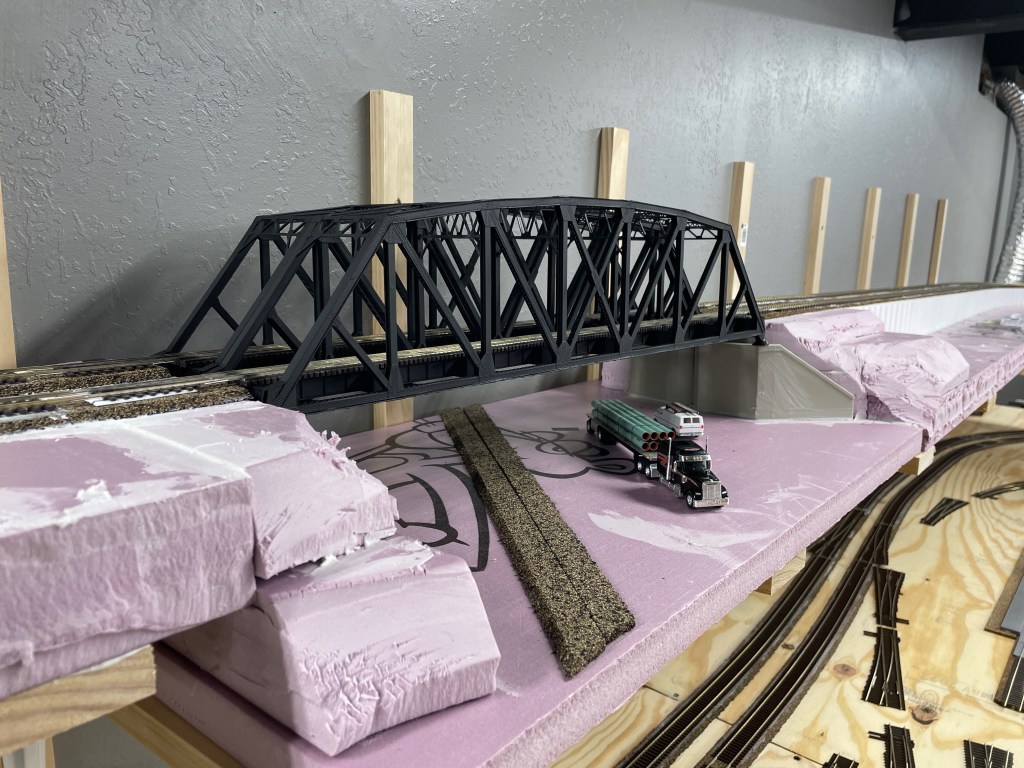
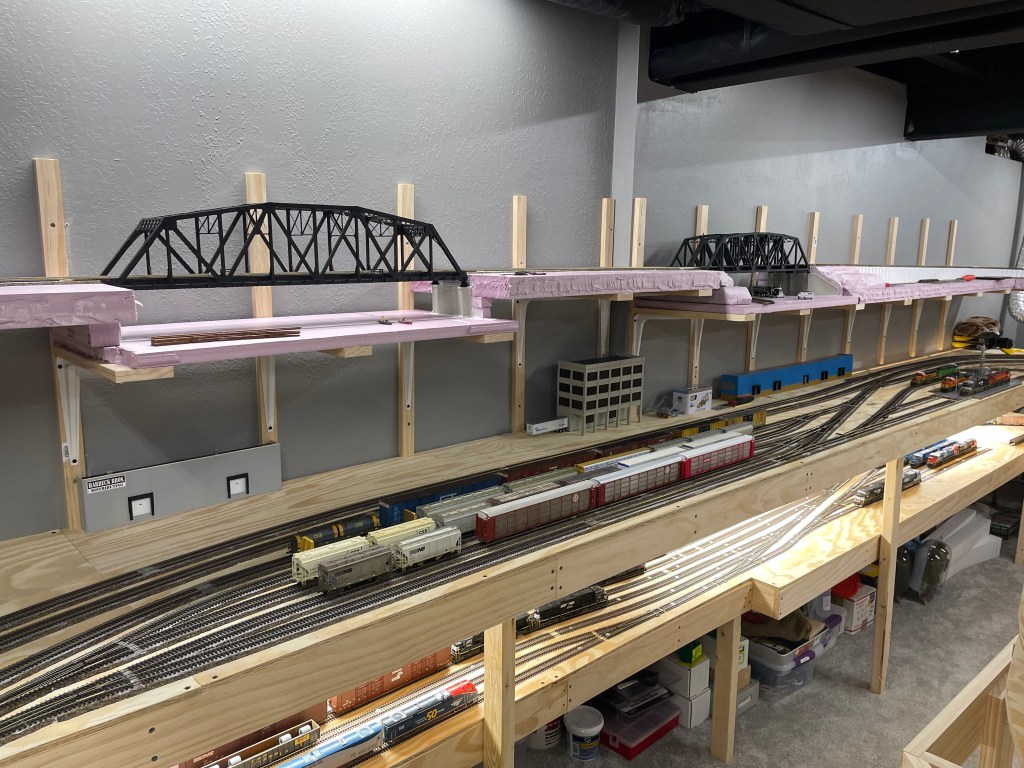
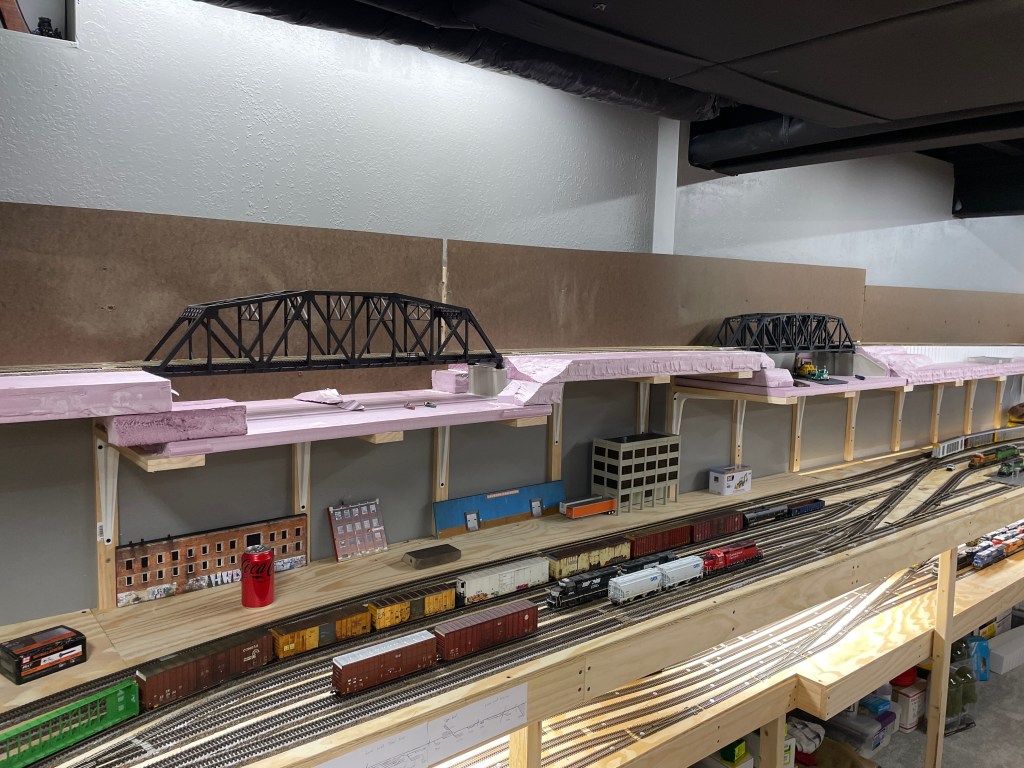
The three bridges on the layout provided a different set of challenges to make sure everything lined up correctly. The big bridge is made by Overland Models and is a 228′ Camel Back Warren Truss double track bridge. The other two are Walthers single-track Arched Pratt Truss bridges placed side by side.


The final phase of construction was to attach the 1/8″ masonite backdrops.


All of the main construction was completed by February 2024 and the final spike for the mainline was driven in March 2024. I, unfortunately, did not get photos of that. Wasn’t thinking about a website at that point.
I hope you enjoyed the review of the layout’s construction. Please let me know if you have any comments or questions below.
Cheers!!


Leave a reply to Robert Braeuner Cancel reply